Have you ever scrolled through Pinterest, looking for some activities to do with your kids and wondered, “Will my kids actually enjoy doing this?” I know I’ve asked myself that many times! It’s also nice to find activities that are actually super cheap to do as well.
While one of the activities in this post is (I’ll admit) a little extra, feel free to get creative and try to use what you already have at home! The fun part about all of these activities isn’t the objects that I’ve included with them (although they are super cute). It’s the squishy, foamy, and slippery stuff that makes it truly engaging for little ones. So don’t be caught up in all of the bells and whistles of what you could do. Make your own variations and share them down below!
Jello Ocean
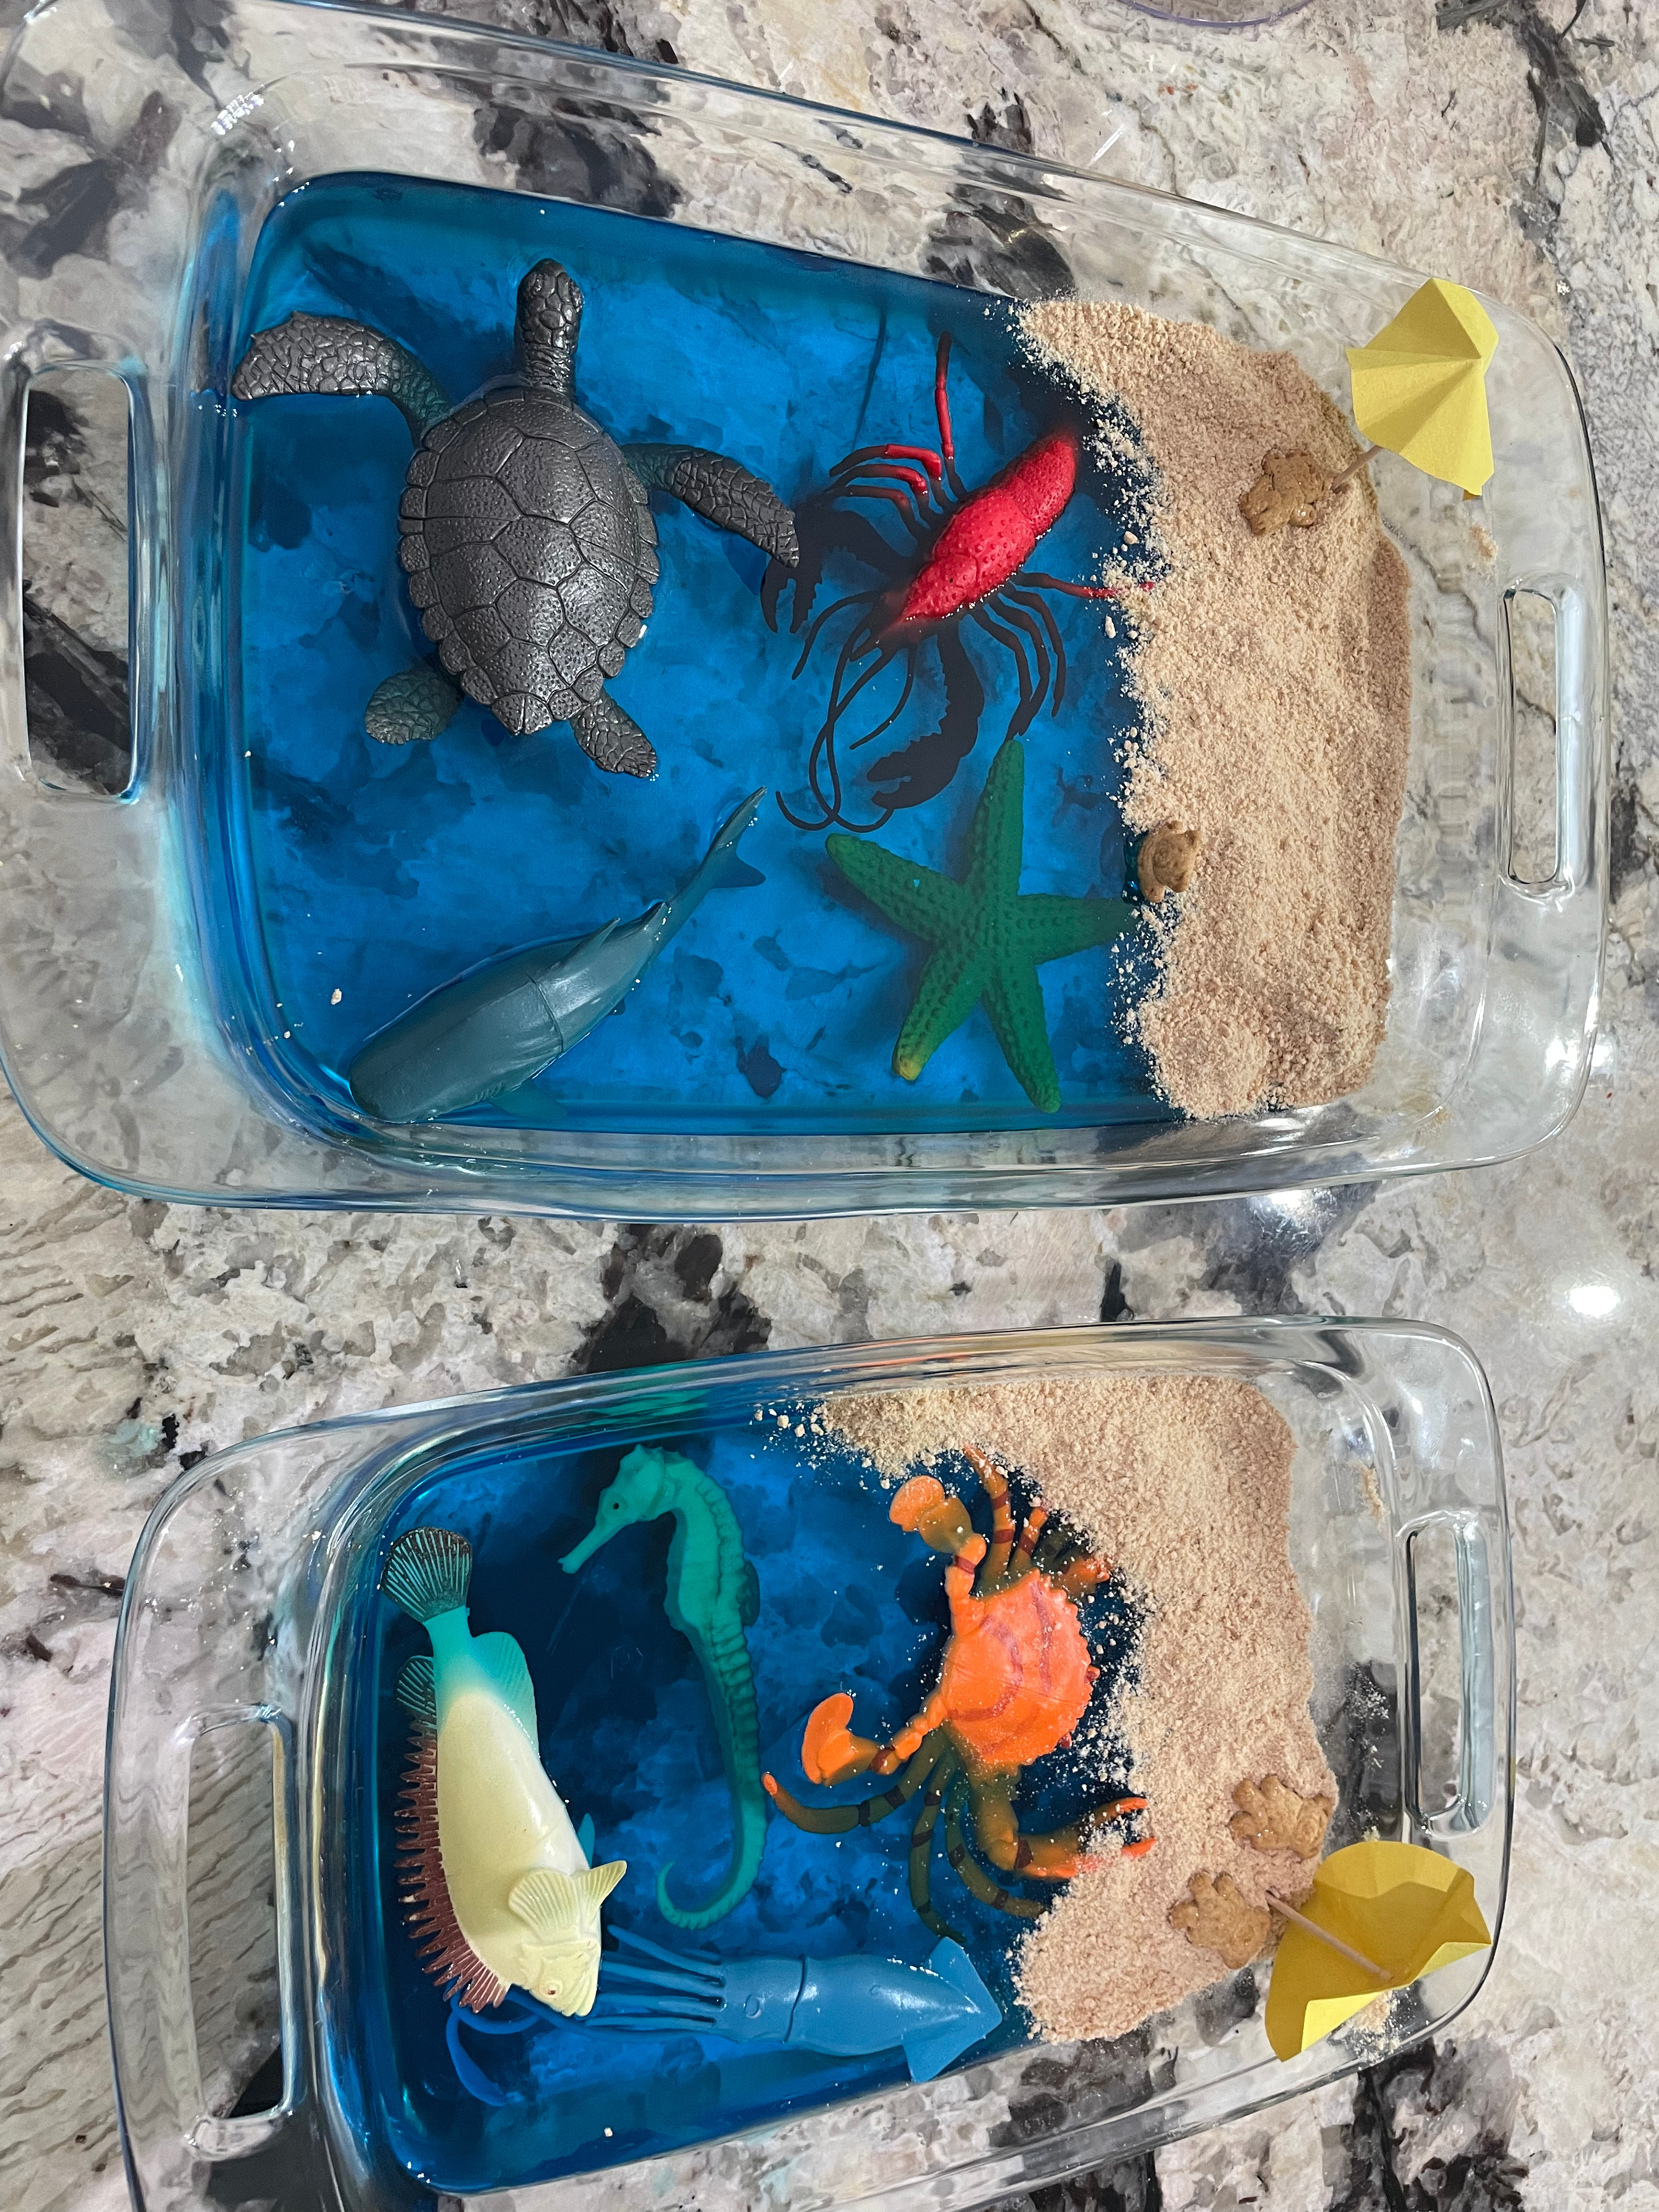
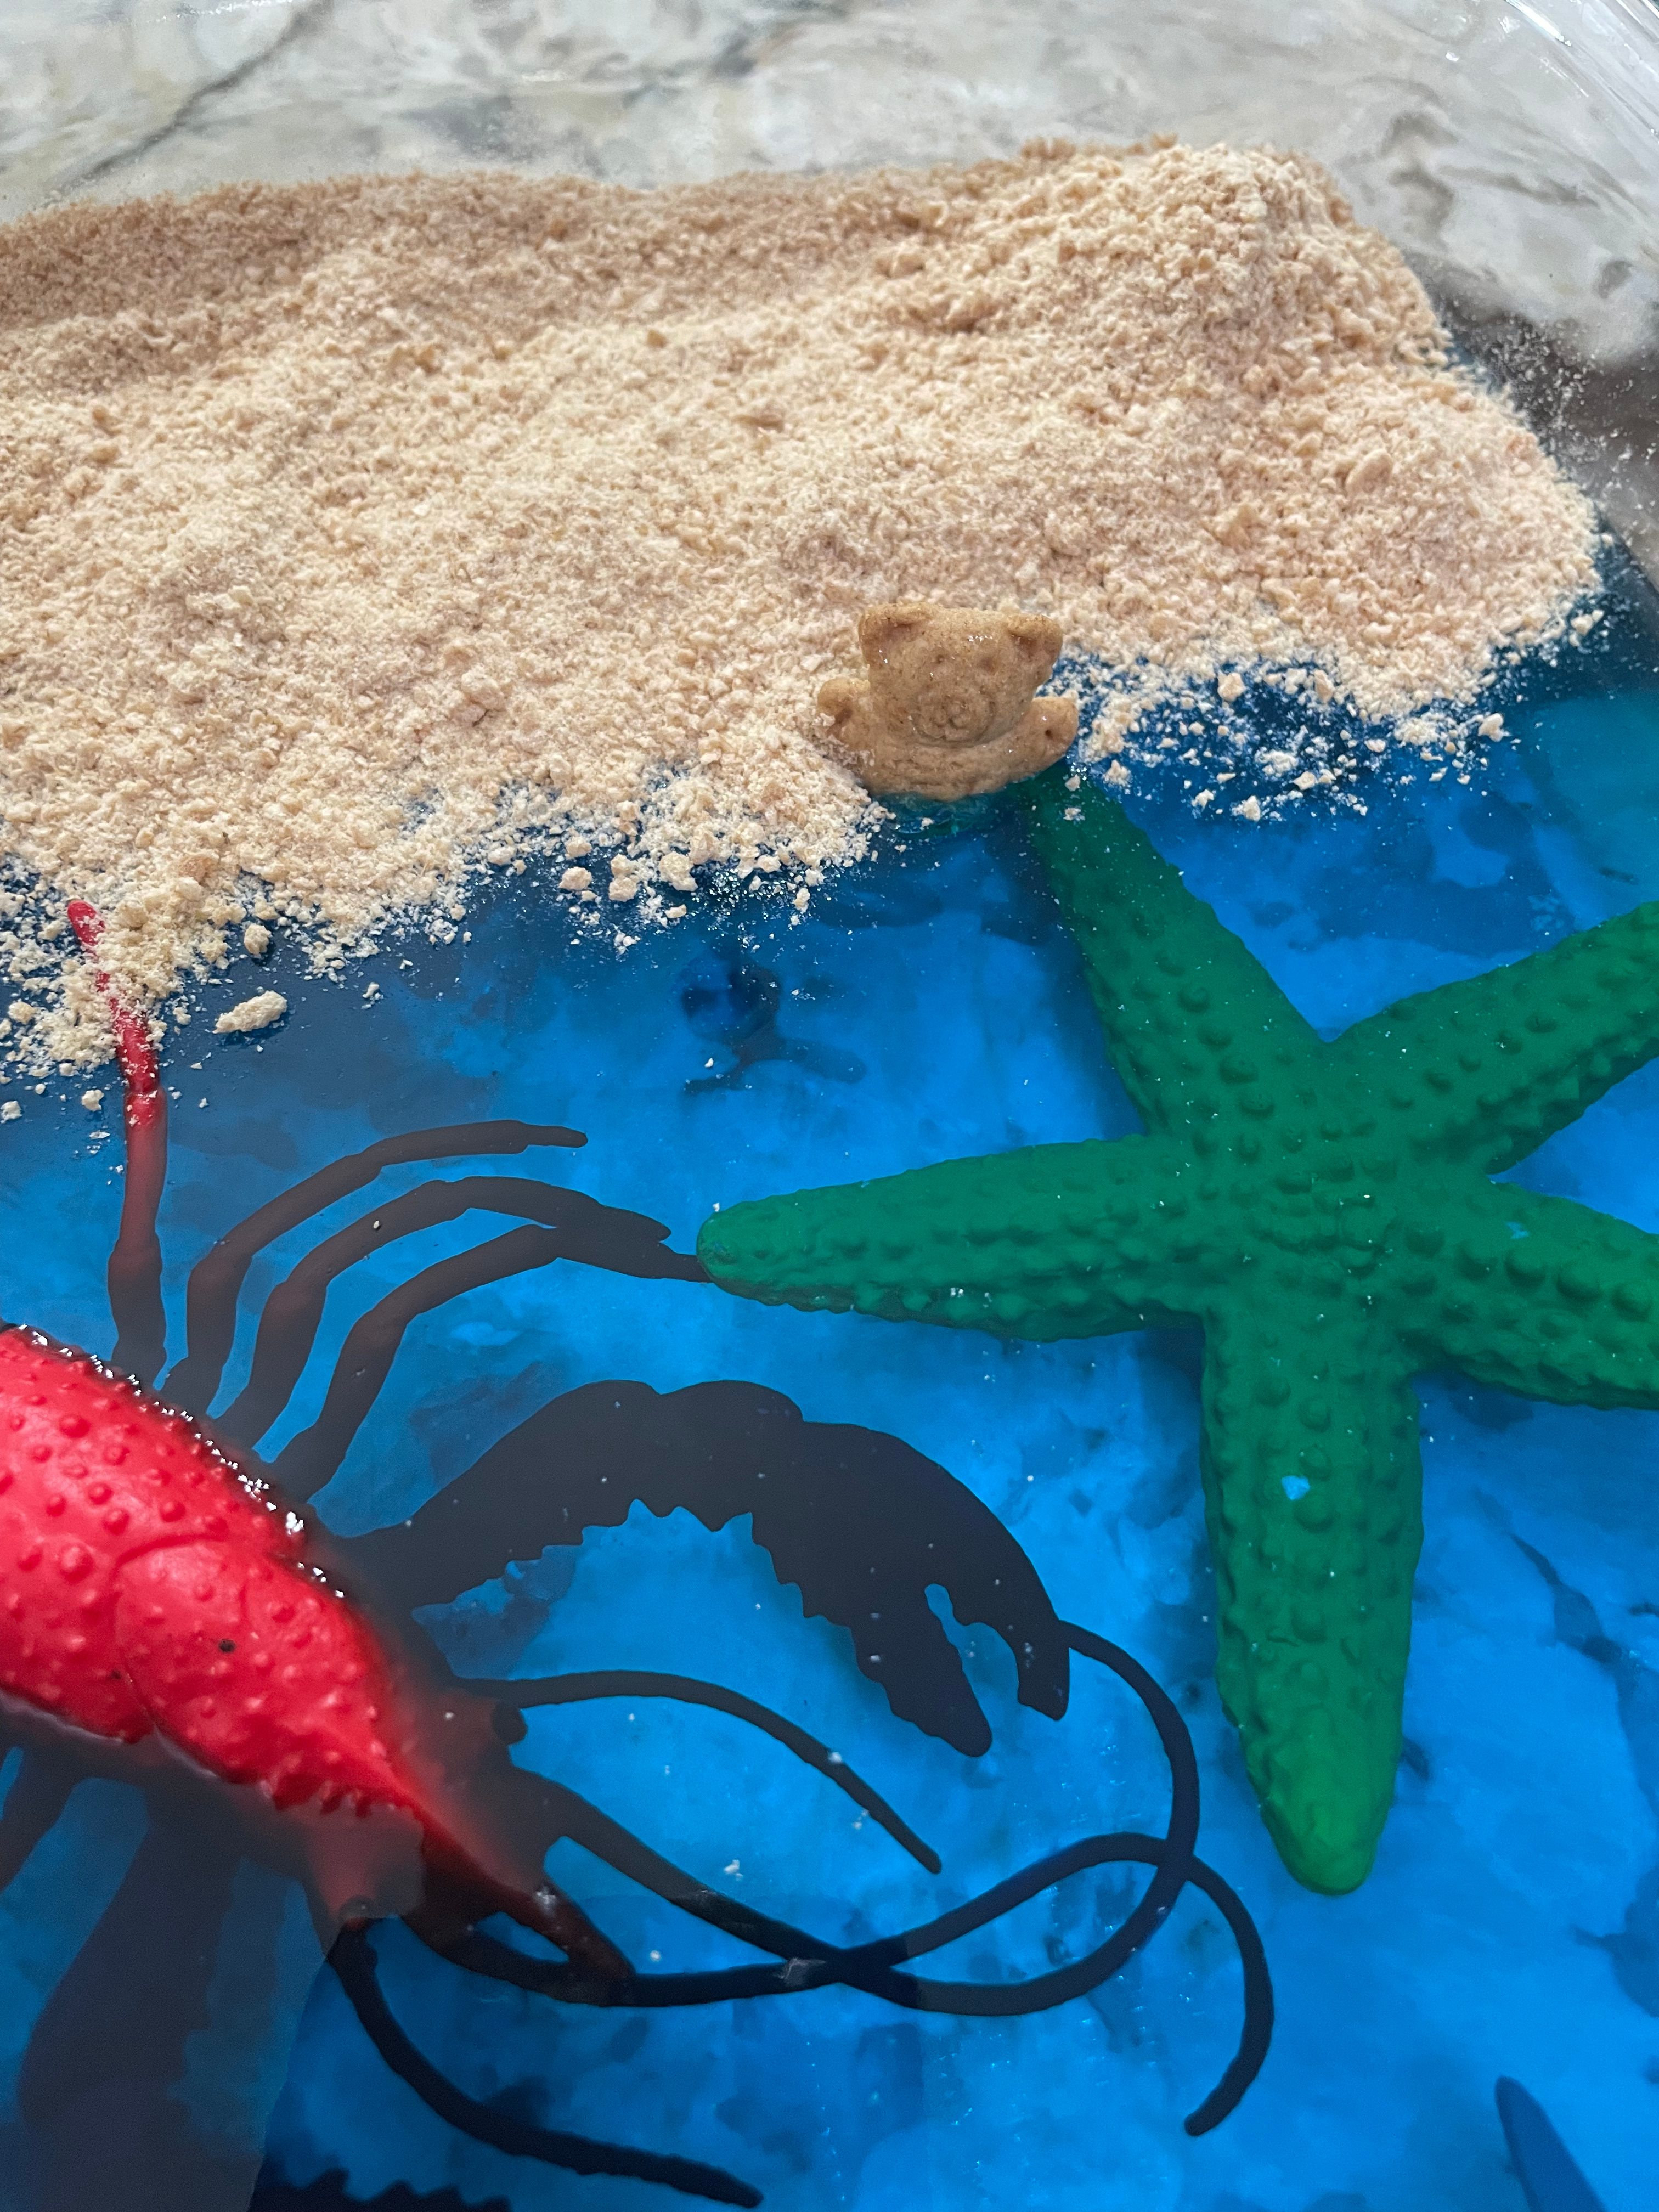
I love a good taste safe sensory activity, especially for little ones who still love to put everything in their mouth. All this requires is some boxes of blue jello, sea creatures (any figurine works), and something to cool the jello in. This one you do need to prep in advance since it does take a while for the jello to set.
Here are the steps:
- Following the instructions on the box, make your jello and pour into a heat safe bowl or pan. (I used a 9×13 Pyrex glass pan)
- Put your sea creatures or figurines in the jello and let it sit until the jello has set.
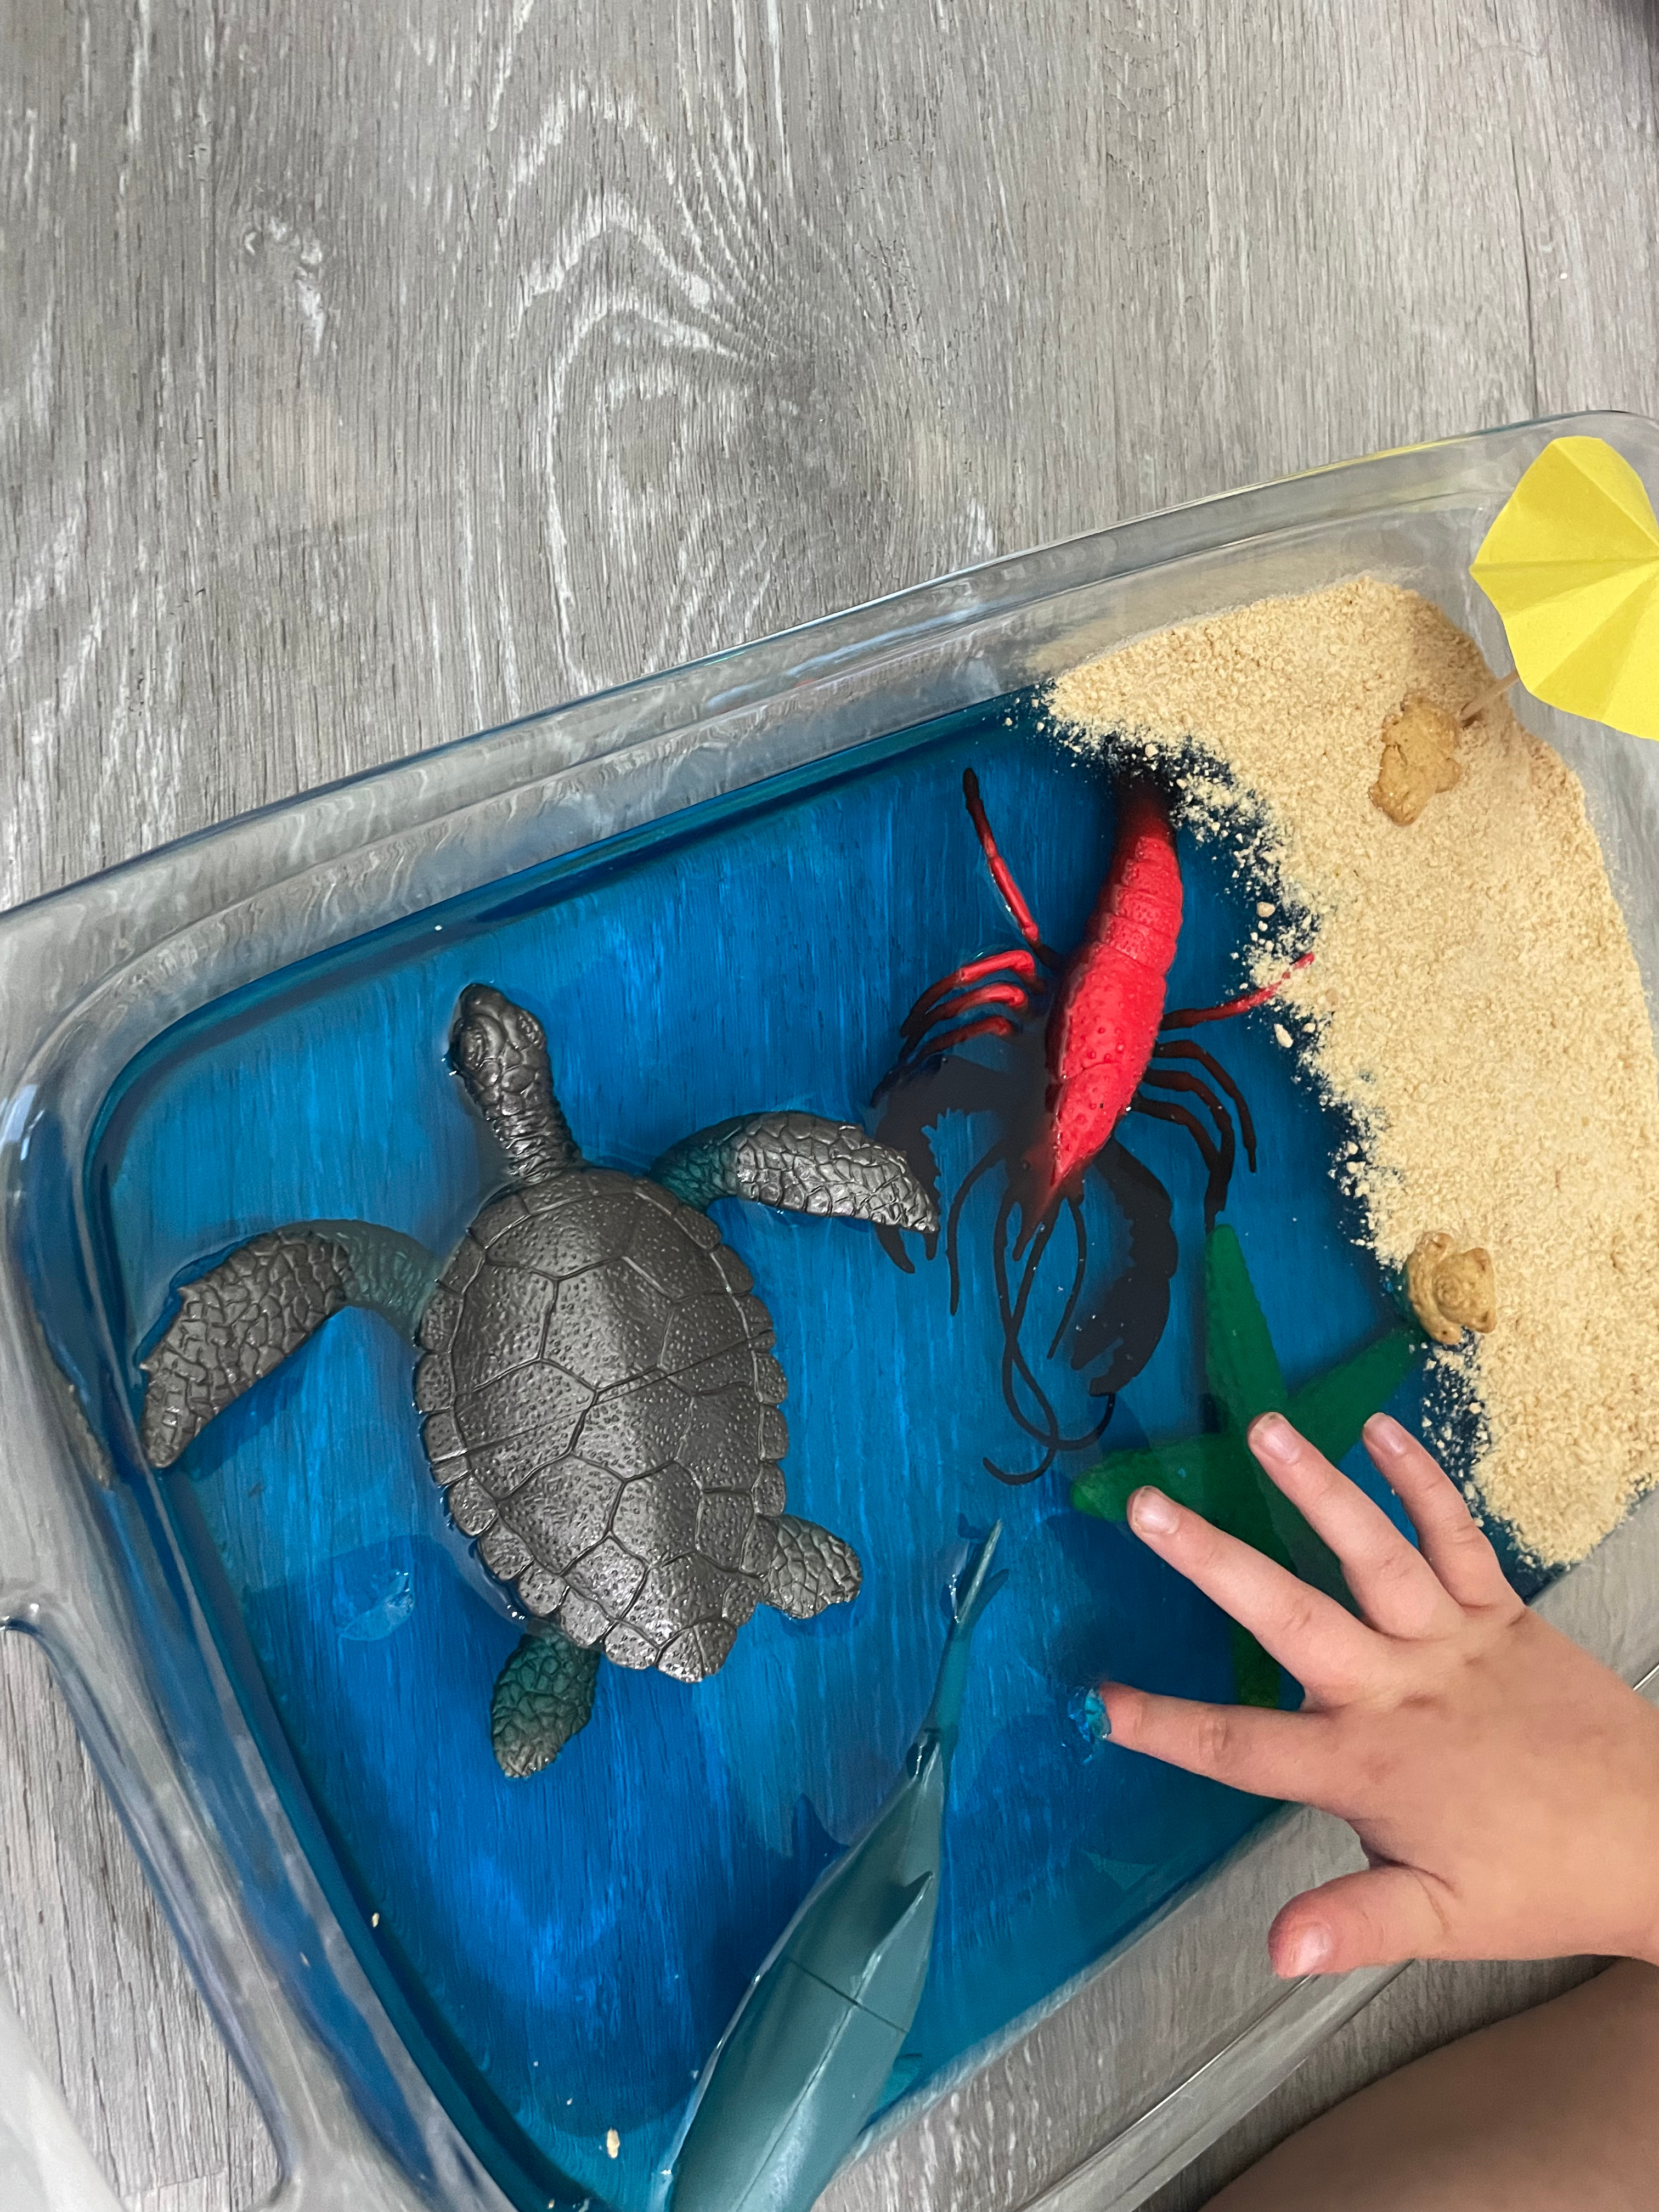
- Once it has set, you can pull it out of the fridge and have your kiddos play with it. There are some other things you can do to add to the ocean theme. You can crush some cheerios for a sandy beach, have a few Teddy Grahams as beach goers, or create mini umbrellas. This is extra, but it can provide different textures and objects to talk about with your kids in the target language. Play in the target language is so important!
- For some kids it might be fun to use everyday kitchen objects to get the animals out like measuring spoons, tongs, etc. If they prefer grabbing the figurines with their hands, that’s perfectly fine too! 😊
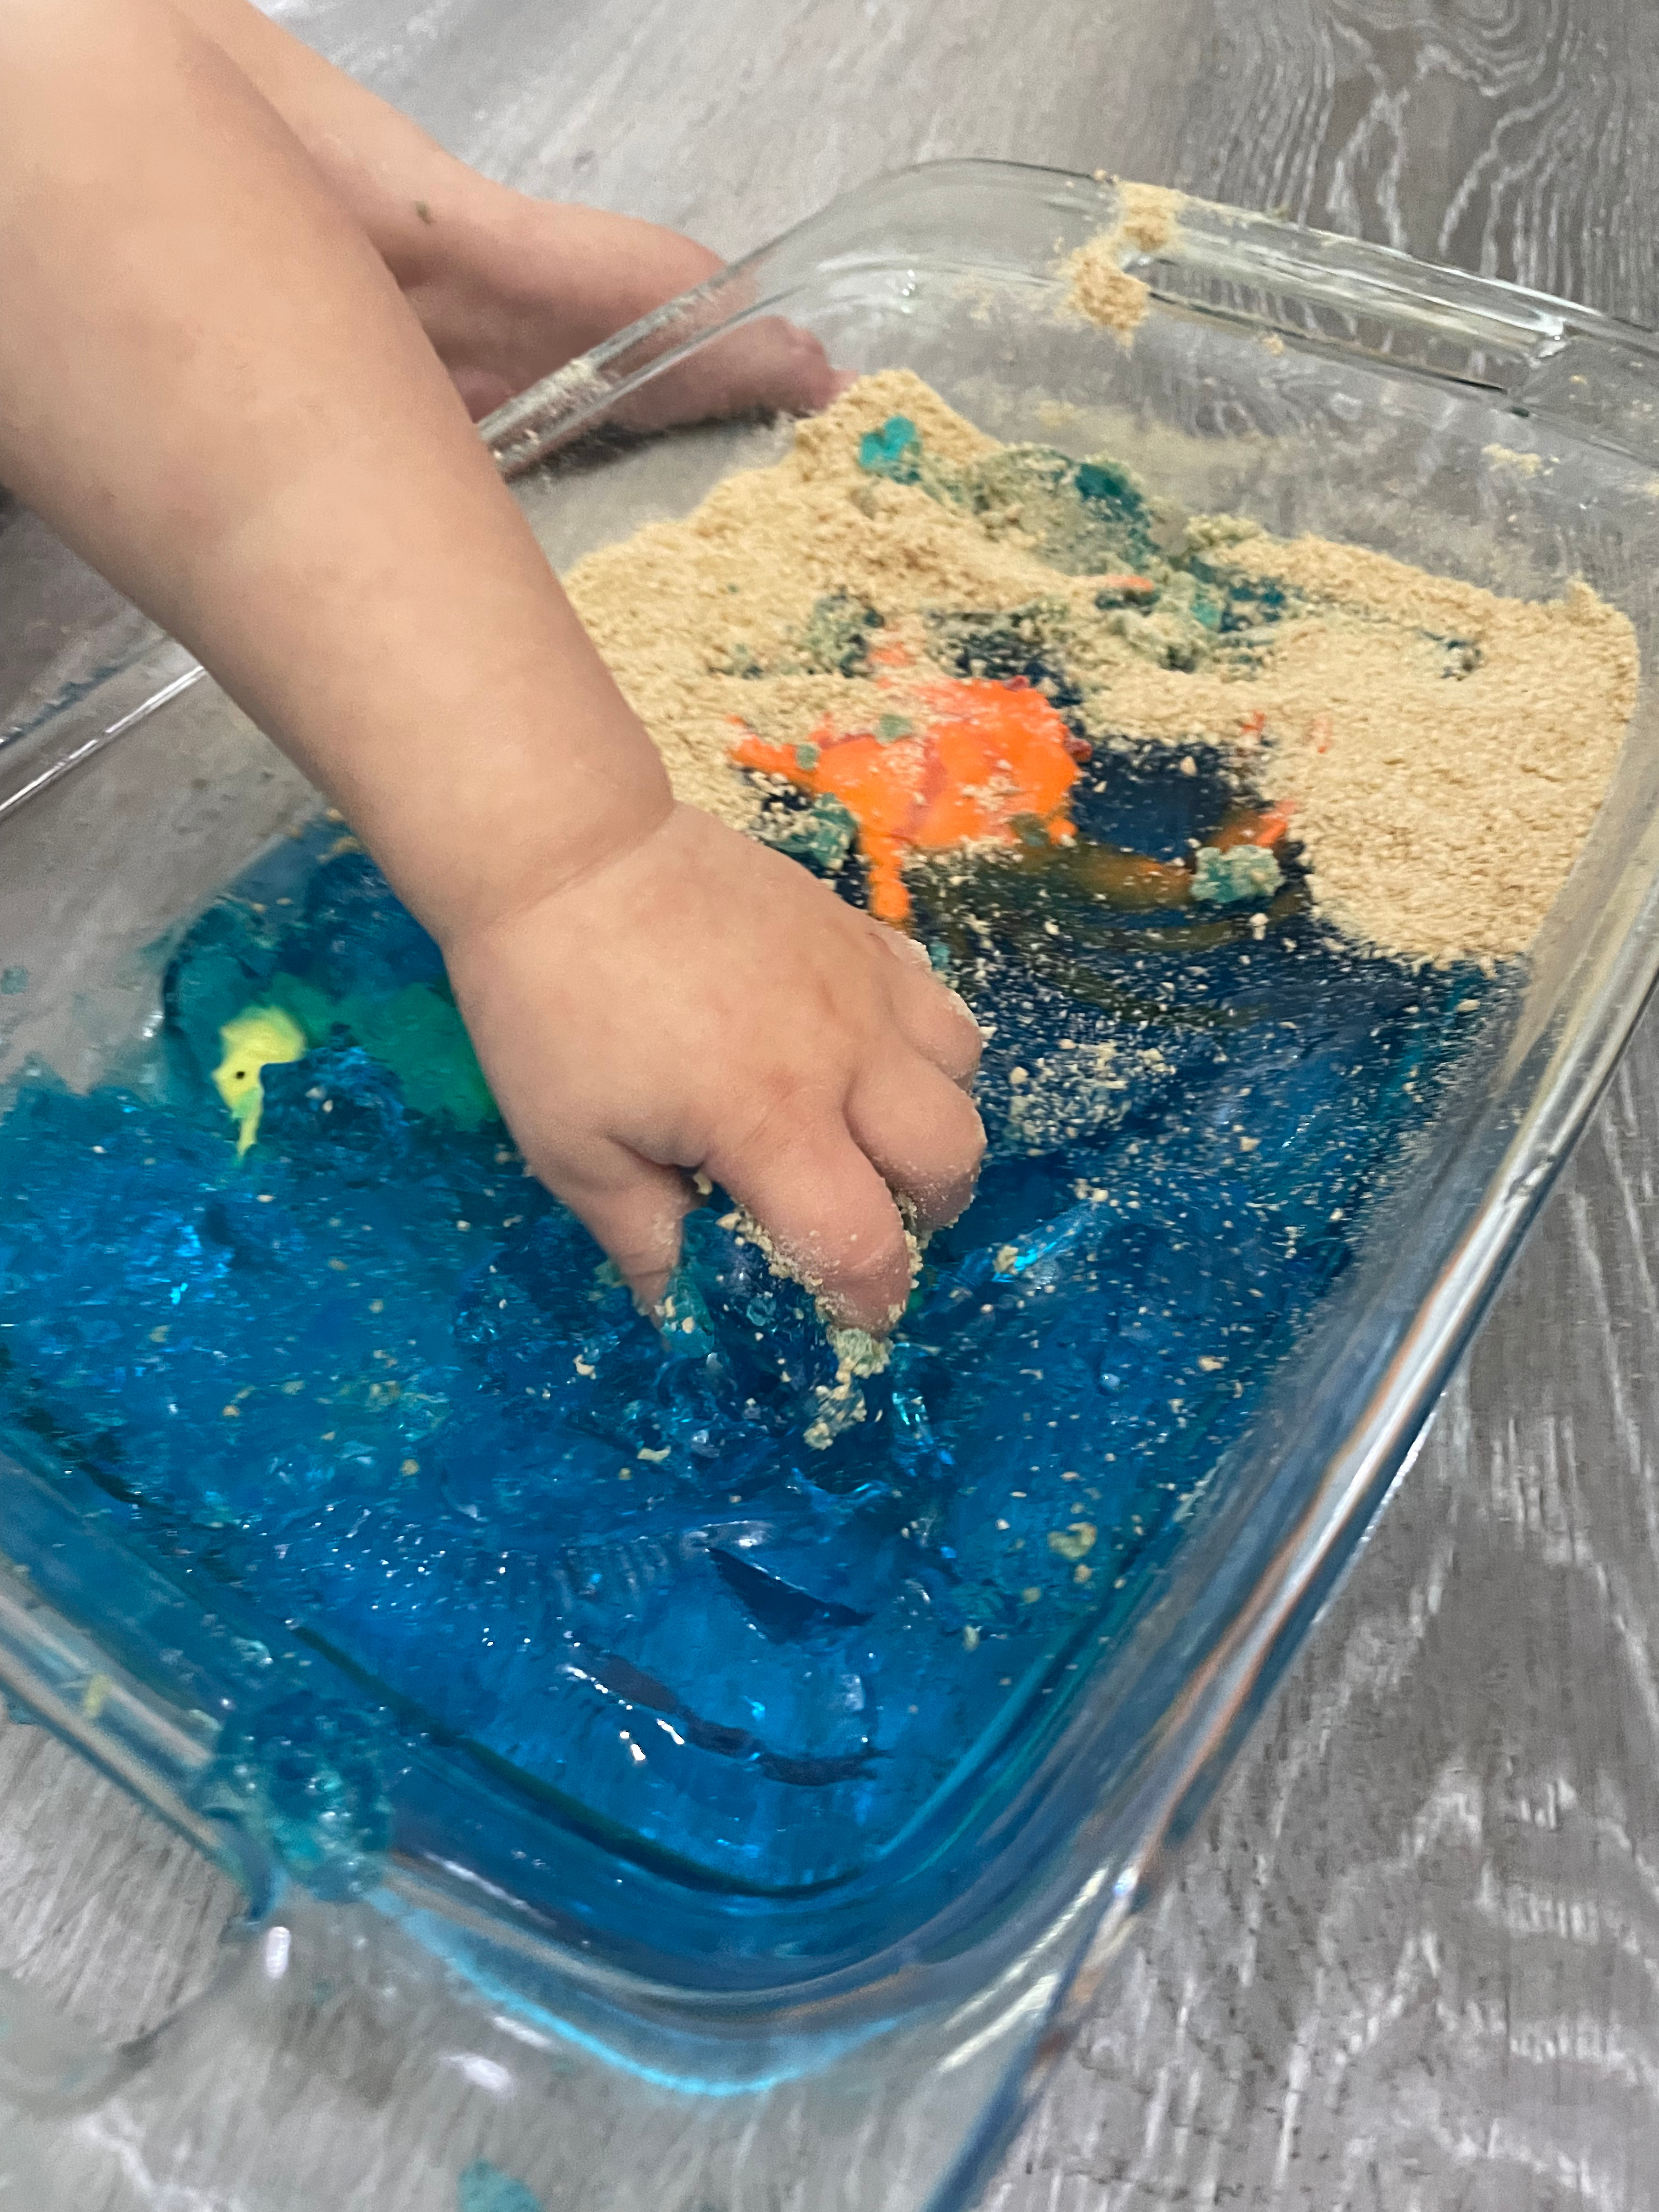
Side-note: Even though my youngest still likes to put playdough in the mouth, my youngest didn’t even attempt to taste the jello. Why do they always go for the things not to put in their little mouths?! 🙃
Here are some photos of our experience (I also included a pic of the aftermath!!!):

Graham Cracker Sand Castle
Okay now this one is something I came up with on my own and I don’t think I’ve seen anything like it on the internet so far. There are some things I would do a little bit differently with this activity after having tried it out 😅, but you can learn from me and hopefully, you can improve upon the ideas as well!
This one is also taste friendly, but it has a lot of components to it. Scale it back, add more if you would like, but I hope this gives you some inspiration for different ways we can use the target language through meaningful and engaging activities in multiple ways.
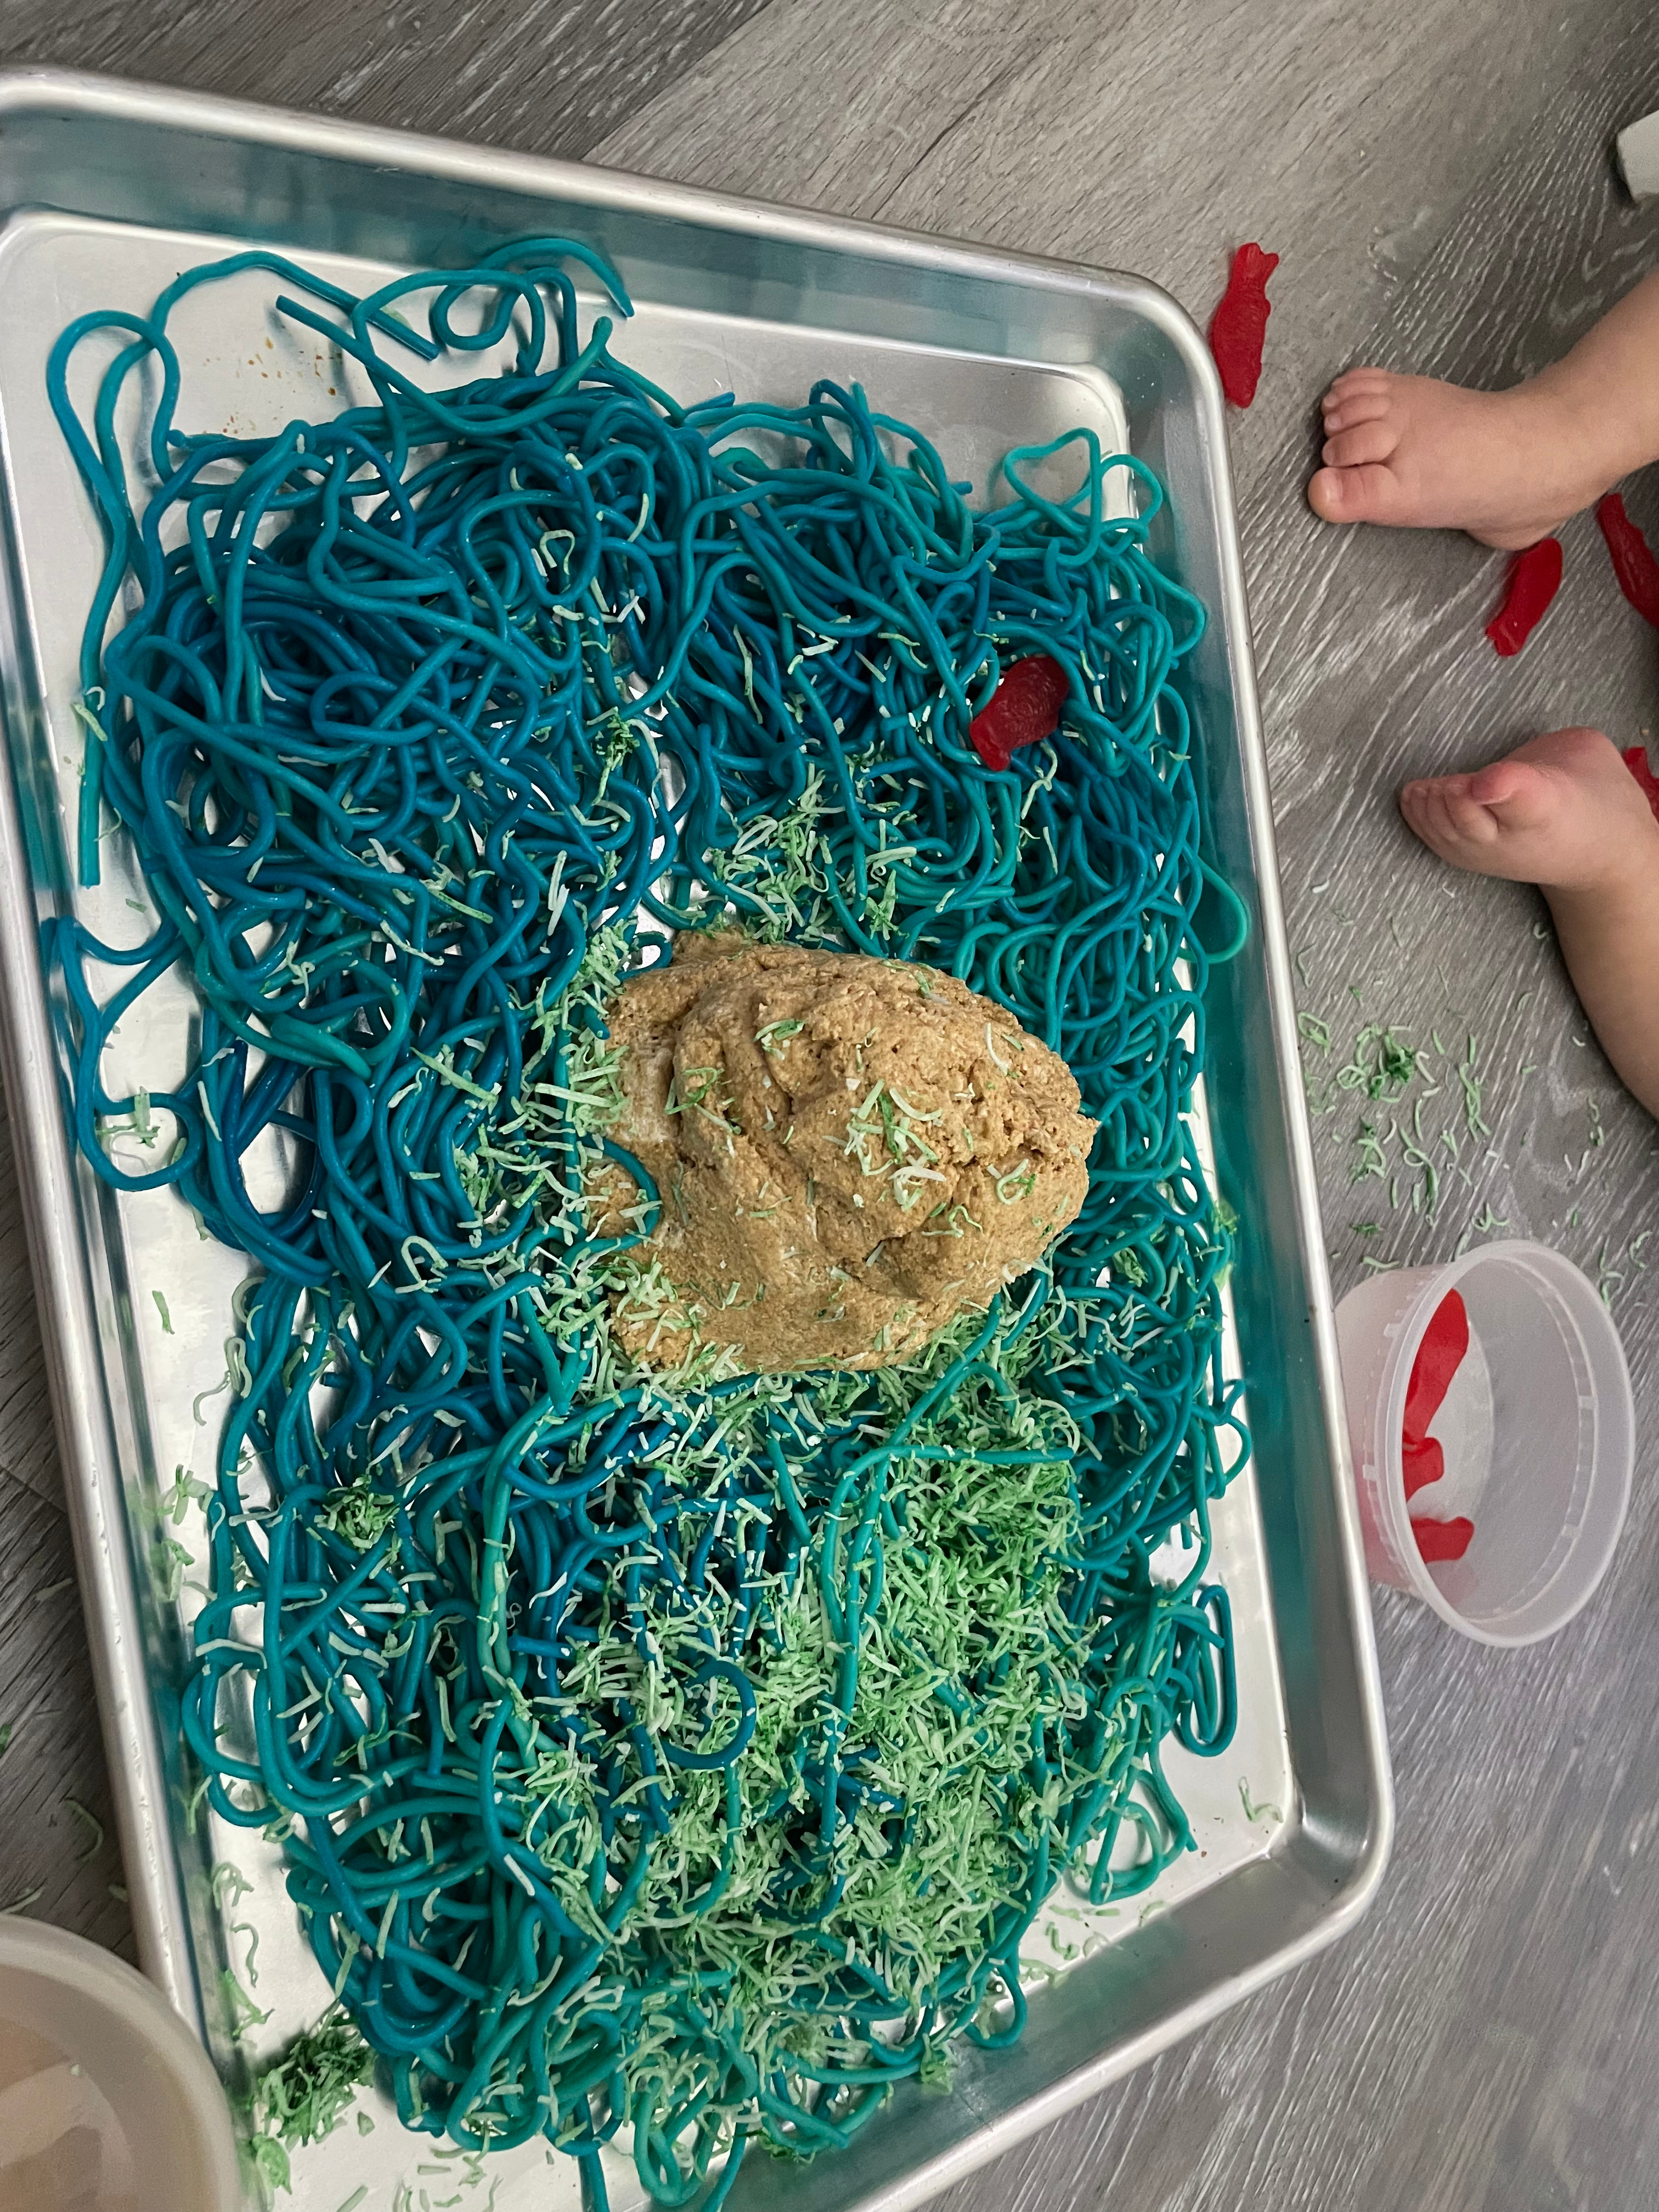
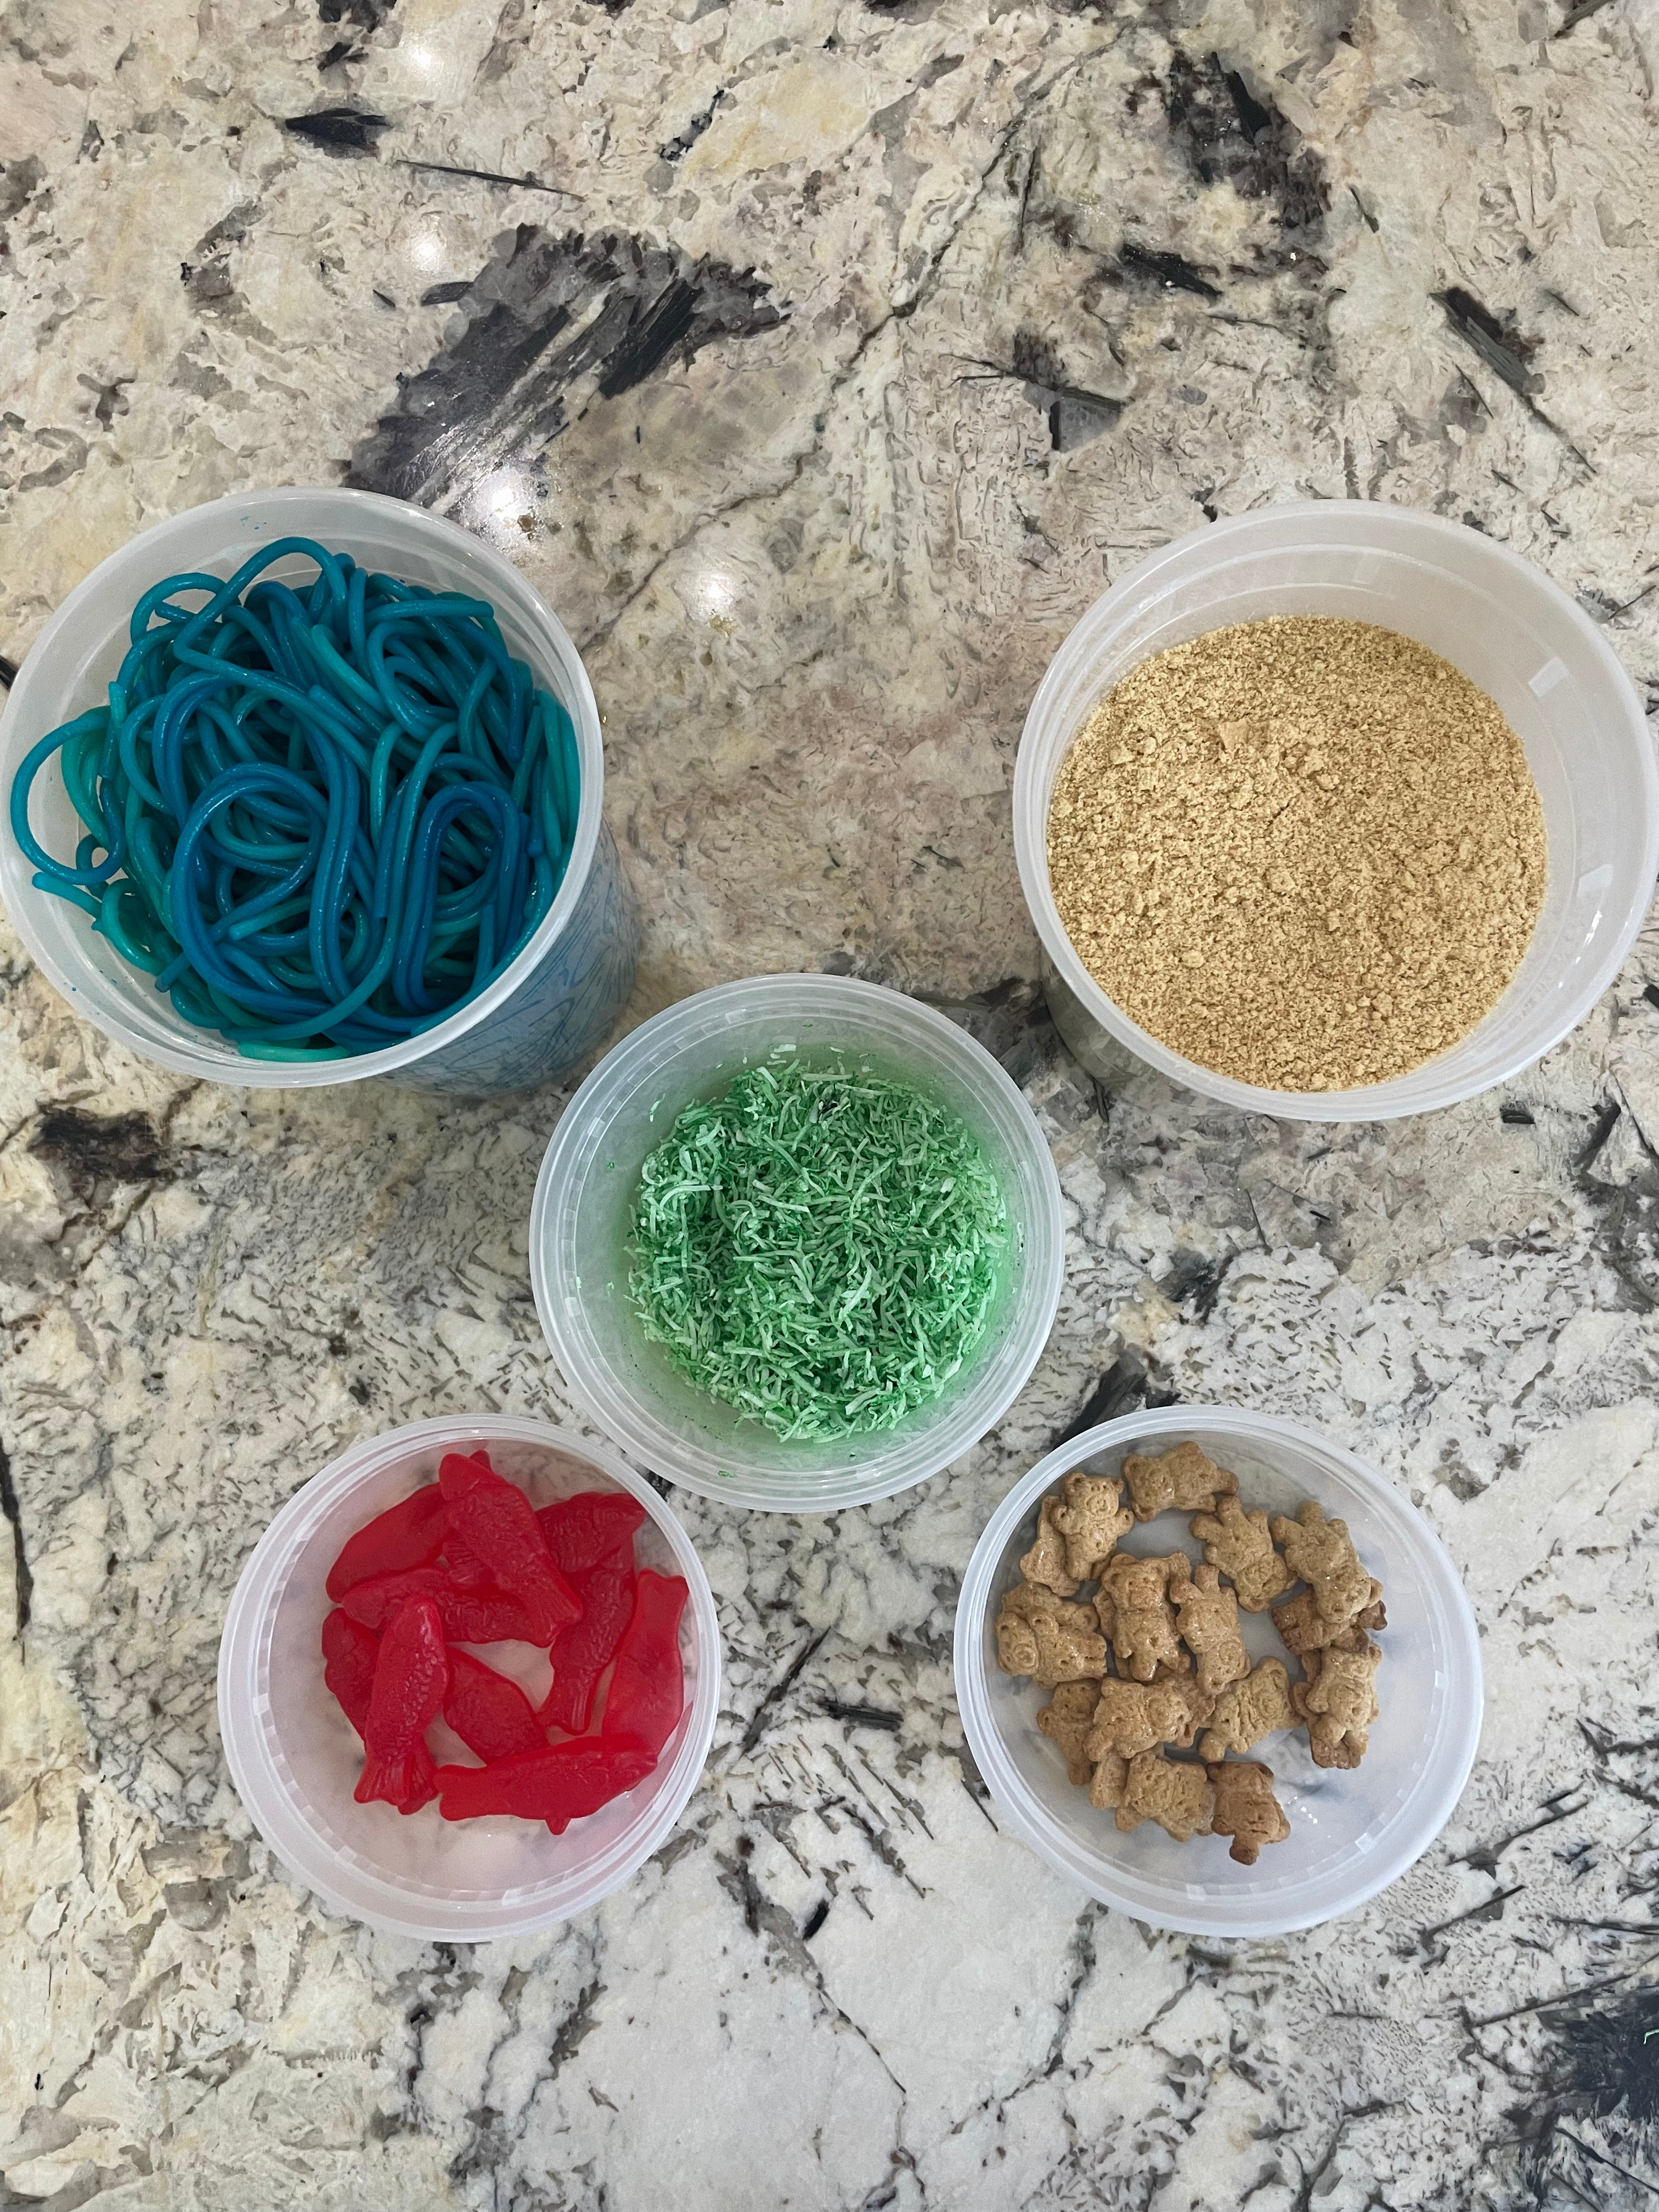
So, my idea was for my kids to make a taste-safe sand castle with a moat of spaghetti blue-dyed noodles, shredded coconut that is dyed green to be like seaweed, with Teddy Grahams and Swedish Fish.
I was trying to think of a way to have the graham crackers be shaped into a sand castle or to be at least at a playdough consistency. Then, I got the idea to mix crushed graham crackers with marshmallow fluff. I thought it was perfect, until I came to the realization while mixing it together that marshmallows are sticky and I didn’t like the feeling of the mixture sticking to my hands. I added a bit of water, which helped. However, if I did this again, I would use frosting next time so it wouldn’t be so sticky. If you have any ideas, please let me know down in the comments!
Here is a rough ingredient list:
- Crushed graham crackers
- Binder for graham crackers (frosting)
- Shredded coconut
- Green dye
- Cooked spaghetti (I used half a pound)
- Blue dye
- Teddy Grahams
- Swedish Fish
Steps:
- This is another activity I would prep the day before. First in a food processor, crush graham crackers making sure it has a powdery or grainy consistency similar to sand. I waited until the day of the activity to mix the graham crackers with the binder, so I simply stored the graham crackers until I was ready.
- Then, boil your spaghetti noodles. Once they are cooked, drained, and cooled enough to handle, put them in a plastic bag with some blue dye and vinegar, close the bag, and shake it until all of your noodles are colored. Add more dye if you want a deeper or more vibrant color. I made this the day before, so I put it in a container in the fridge.
- For the seaweed, place the desired amount of shredded coconut you would like to use in a plastic bag, a little bit of vinegar, green dye, and shake.
- At this point, all of the prep work is done, so whenever your children are ready for this activity, introduce it to them!
- Using a cooking sheet, place your sand castle ‘dough’ (graham crackers already mixed with binder at this point) in the center of the sheet, surround the castle with your ocean noodles, sprinkle your seaweed throughout the ocean, and you can put fish in the ocean and maybe some Teddy Grahams are going for swim in there as well.
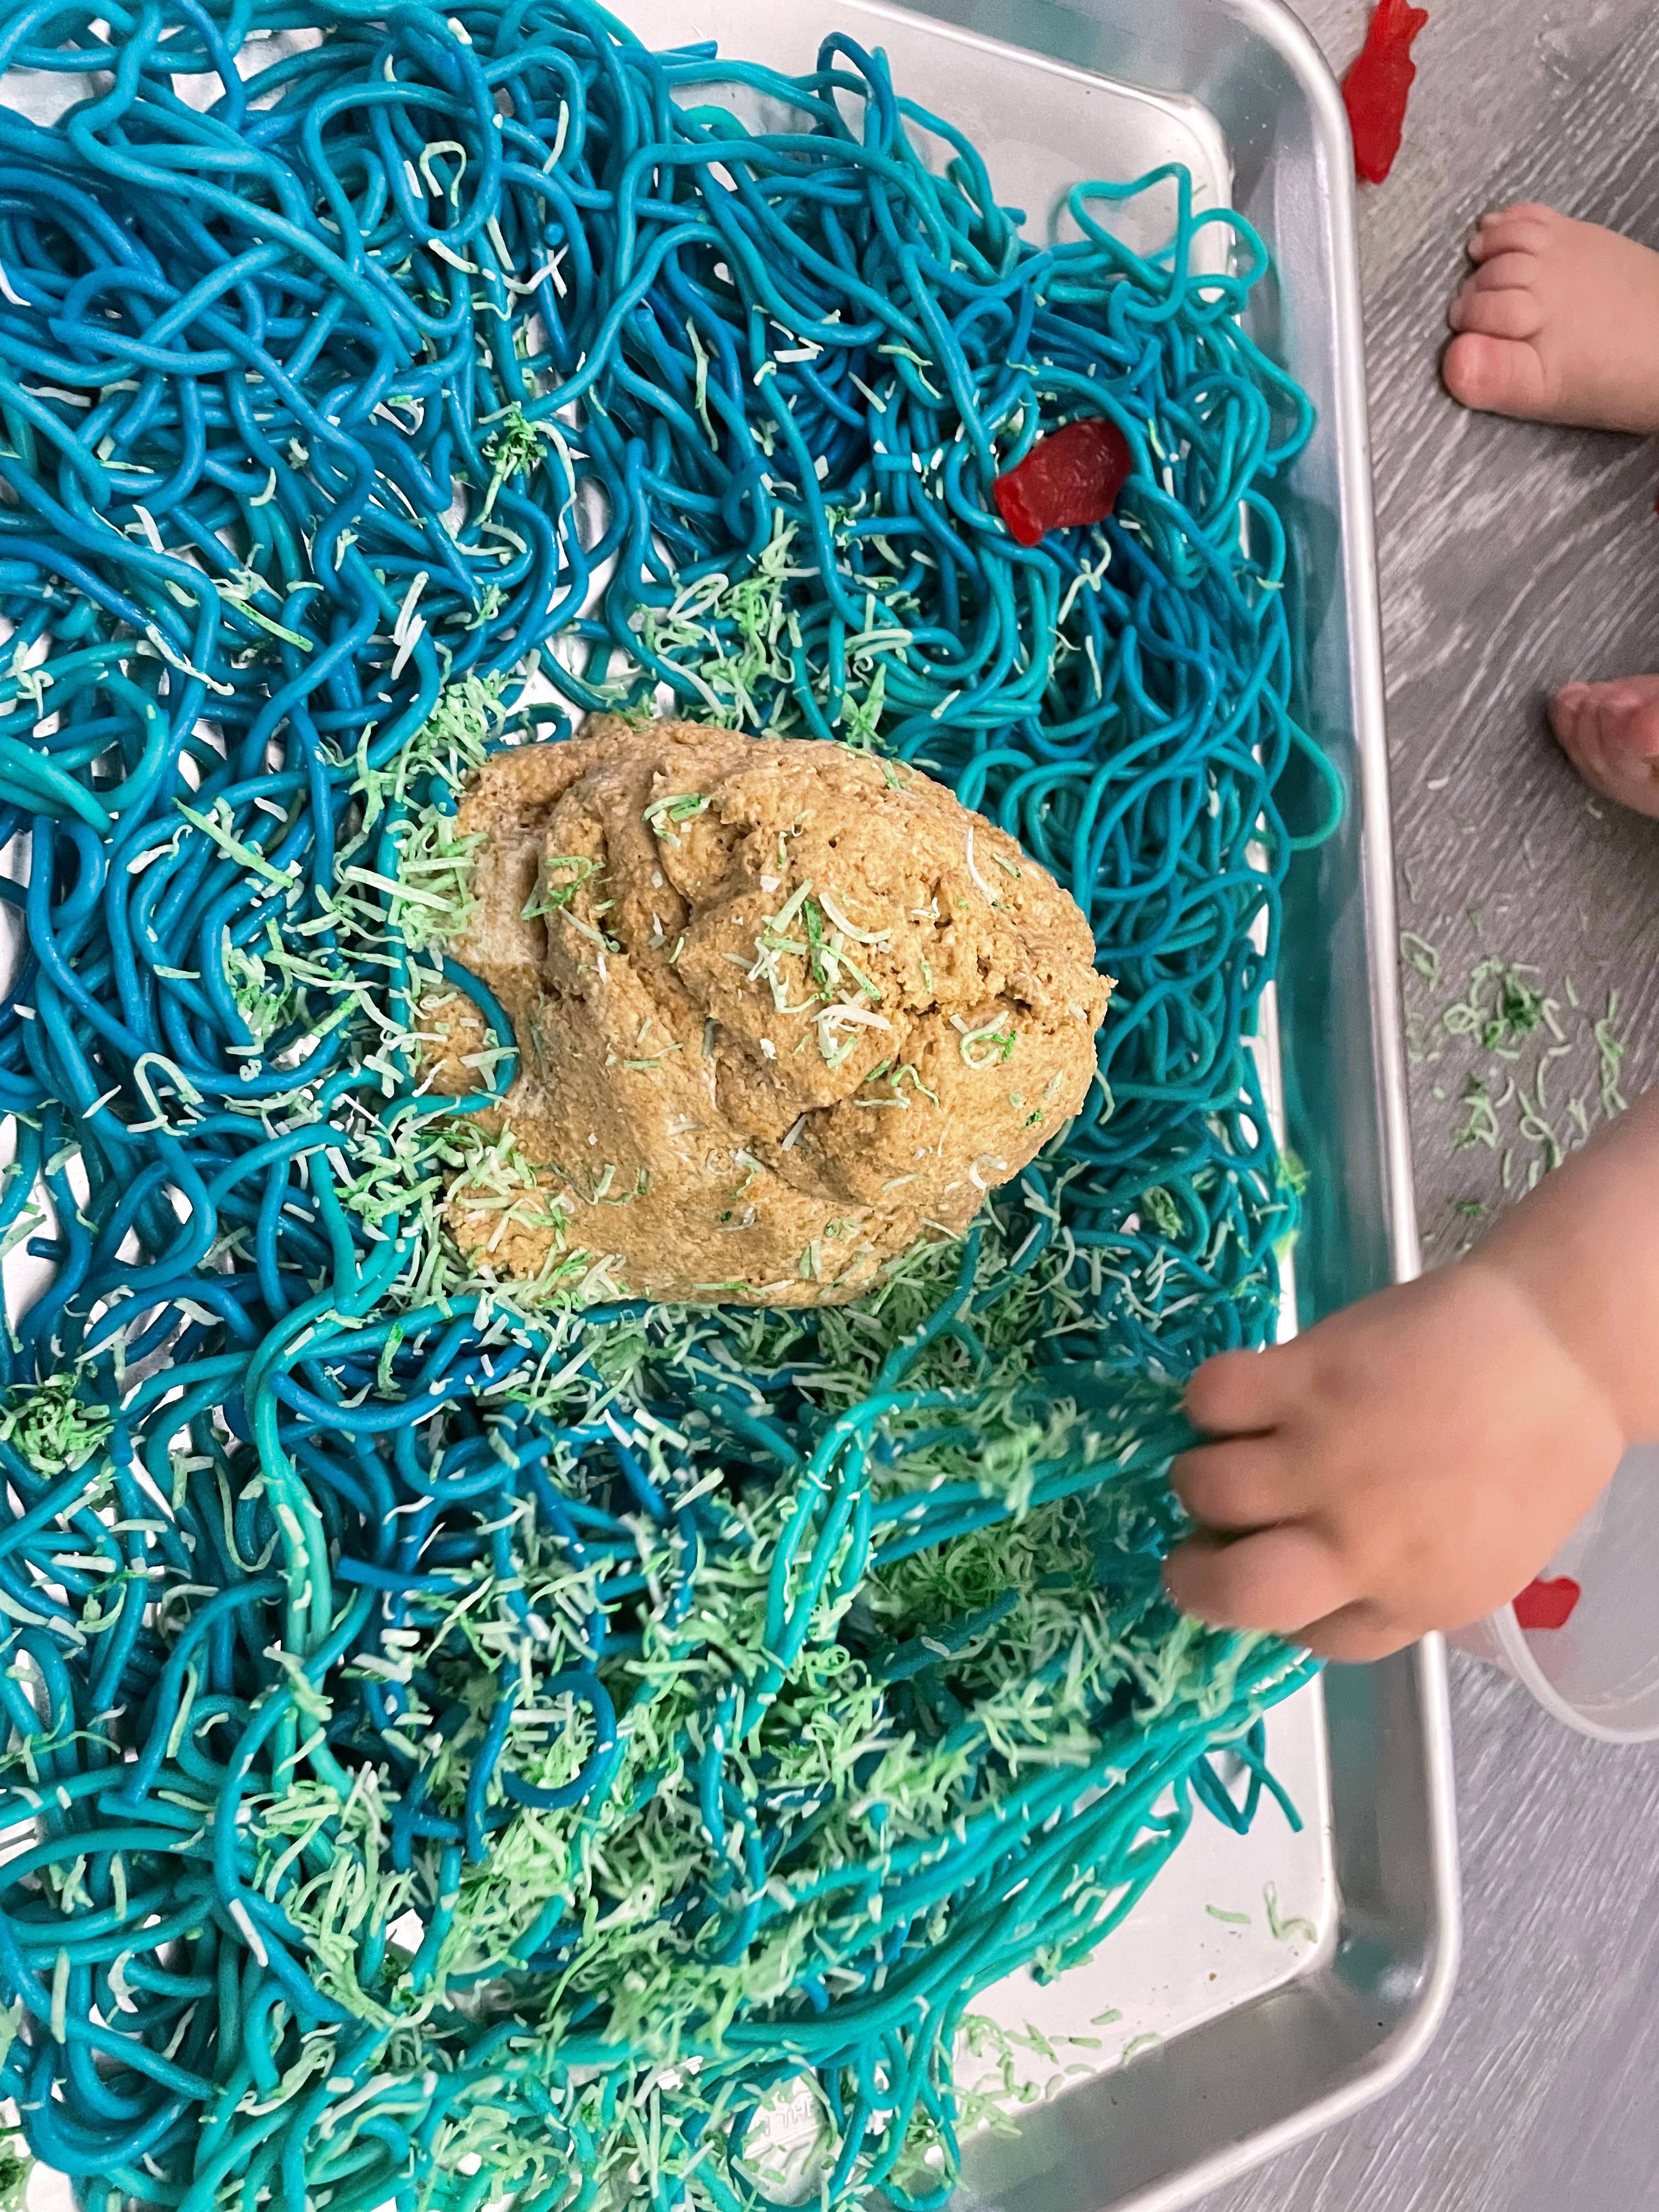
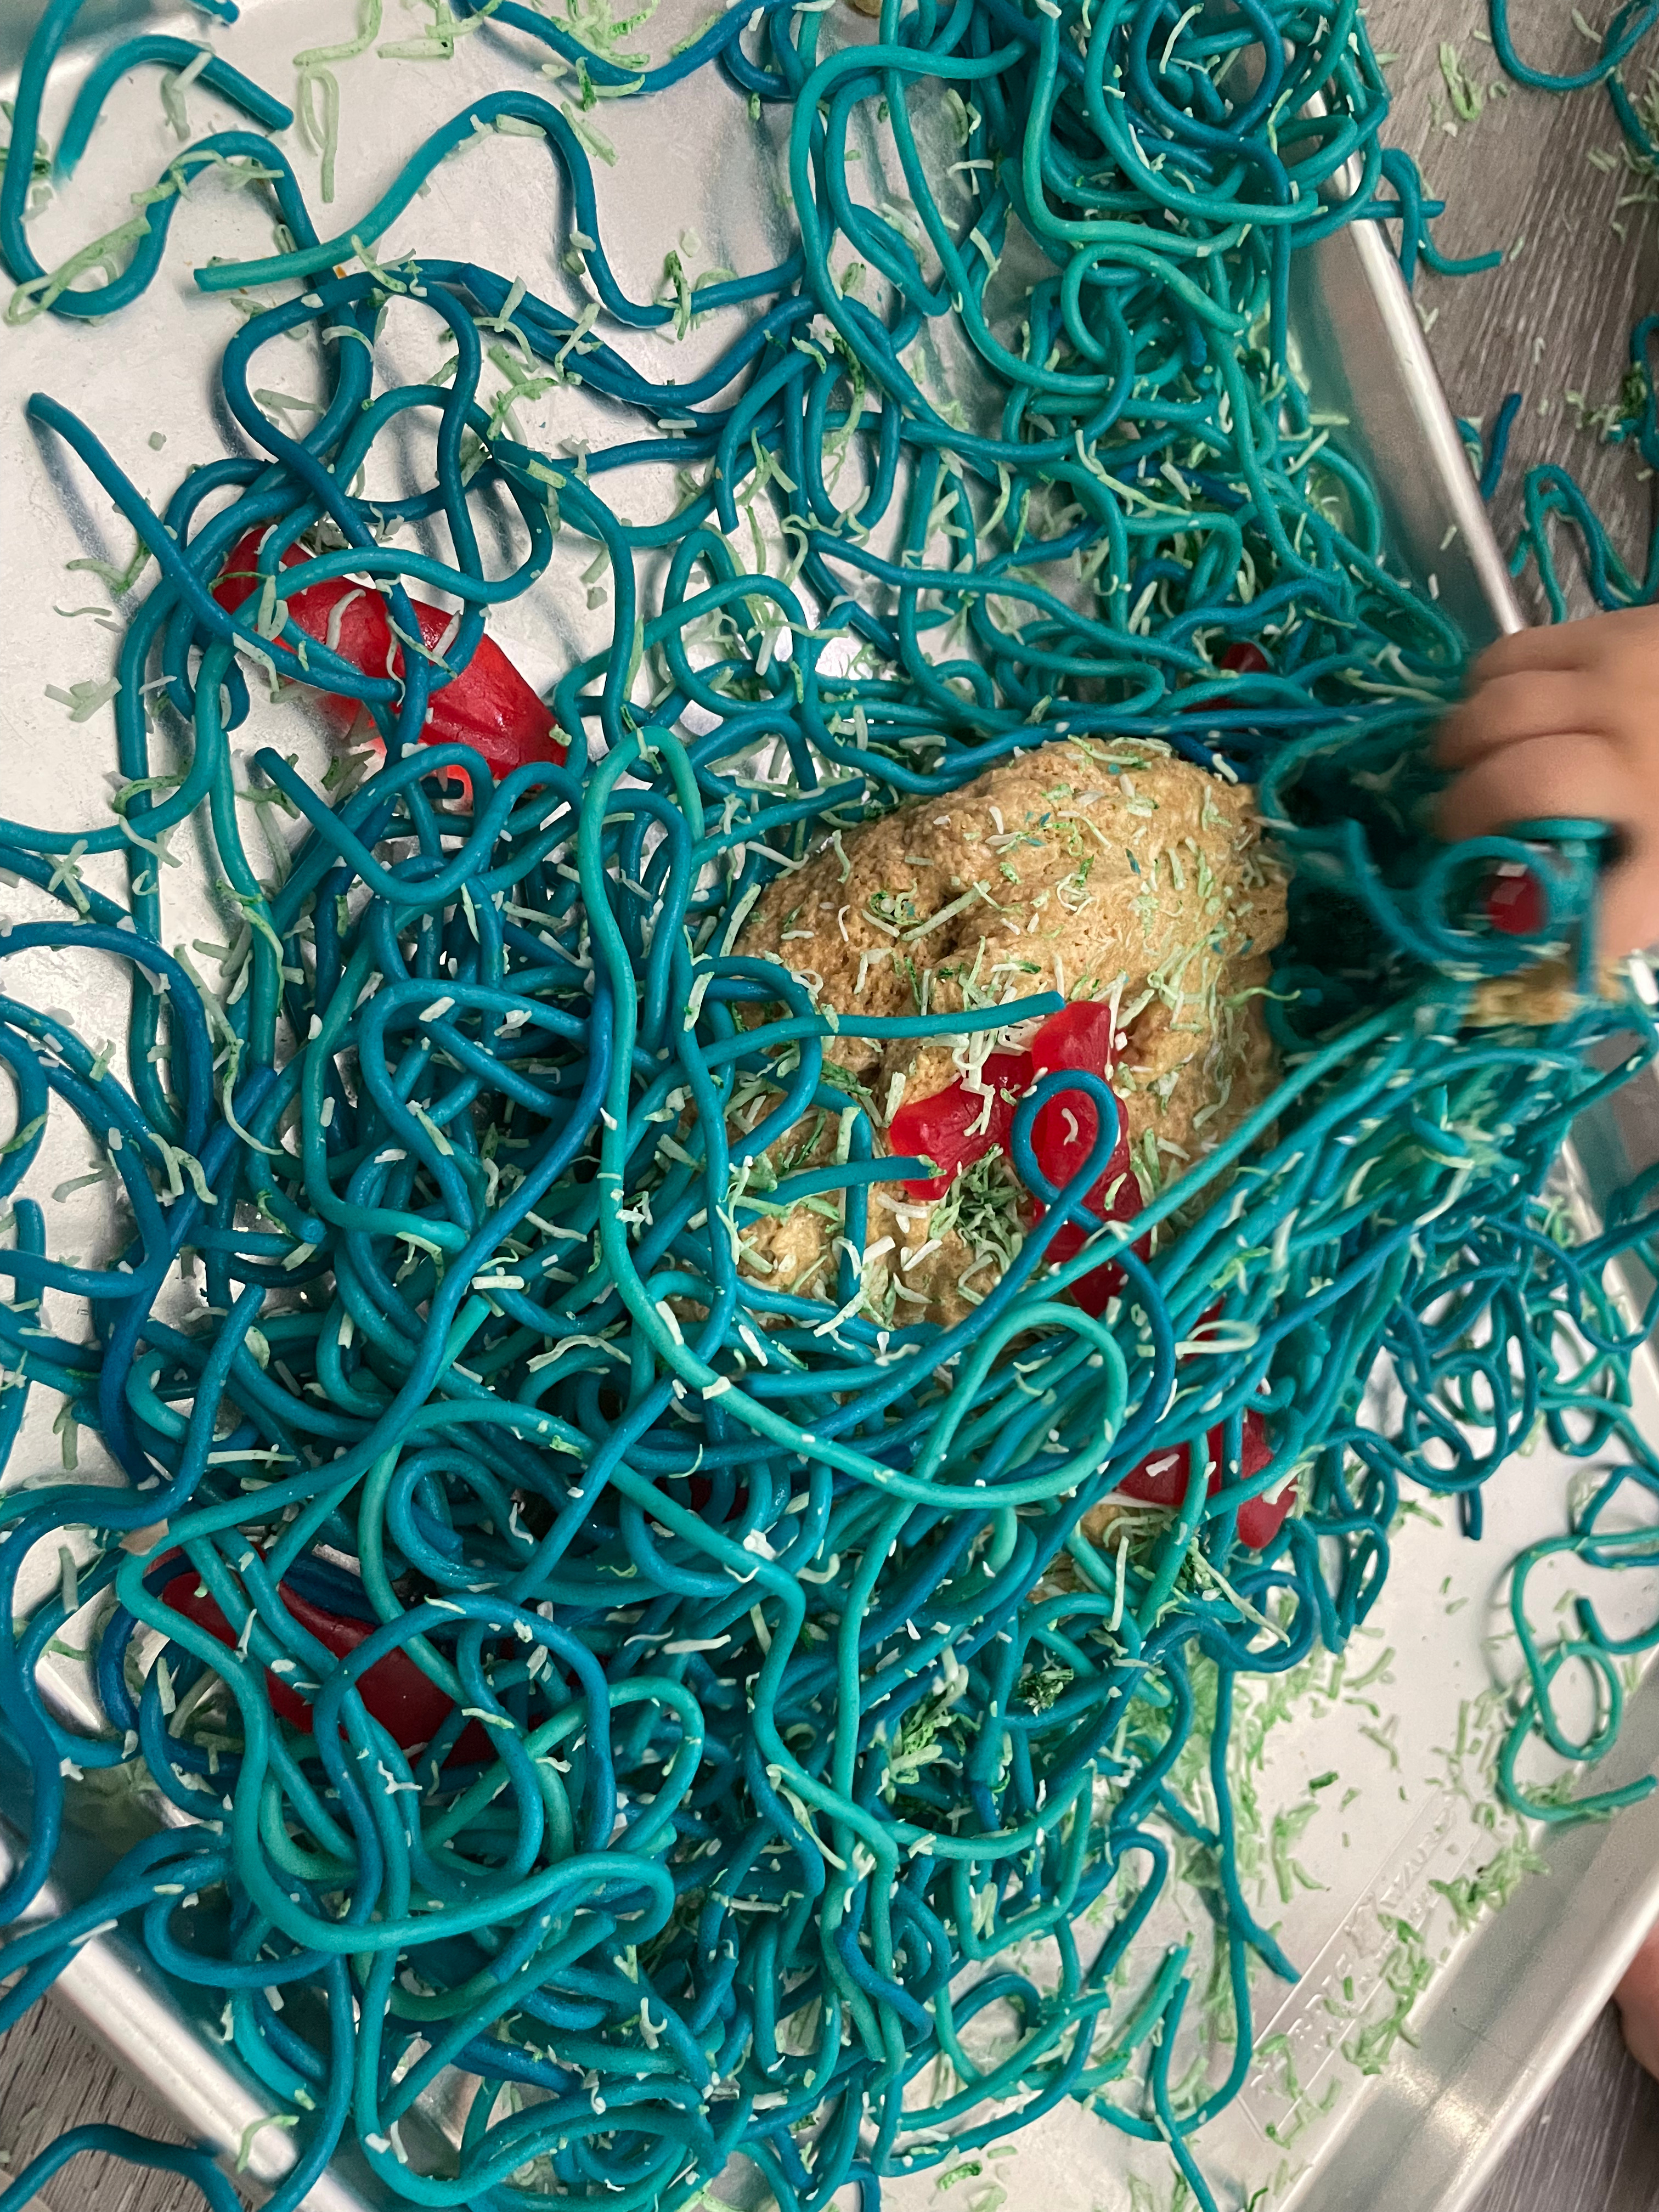
The fun part about all of this is how open-ended it is. The kids get to explore different textures, colors, and get to be tactile learners. I think my children’s favorite part was playing with the spaghetti. It was SUPER messy by the end of it, but they really did have a blast.
Here are some photos of how it went down:
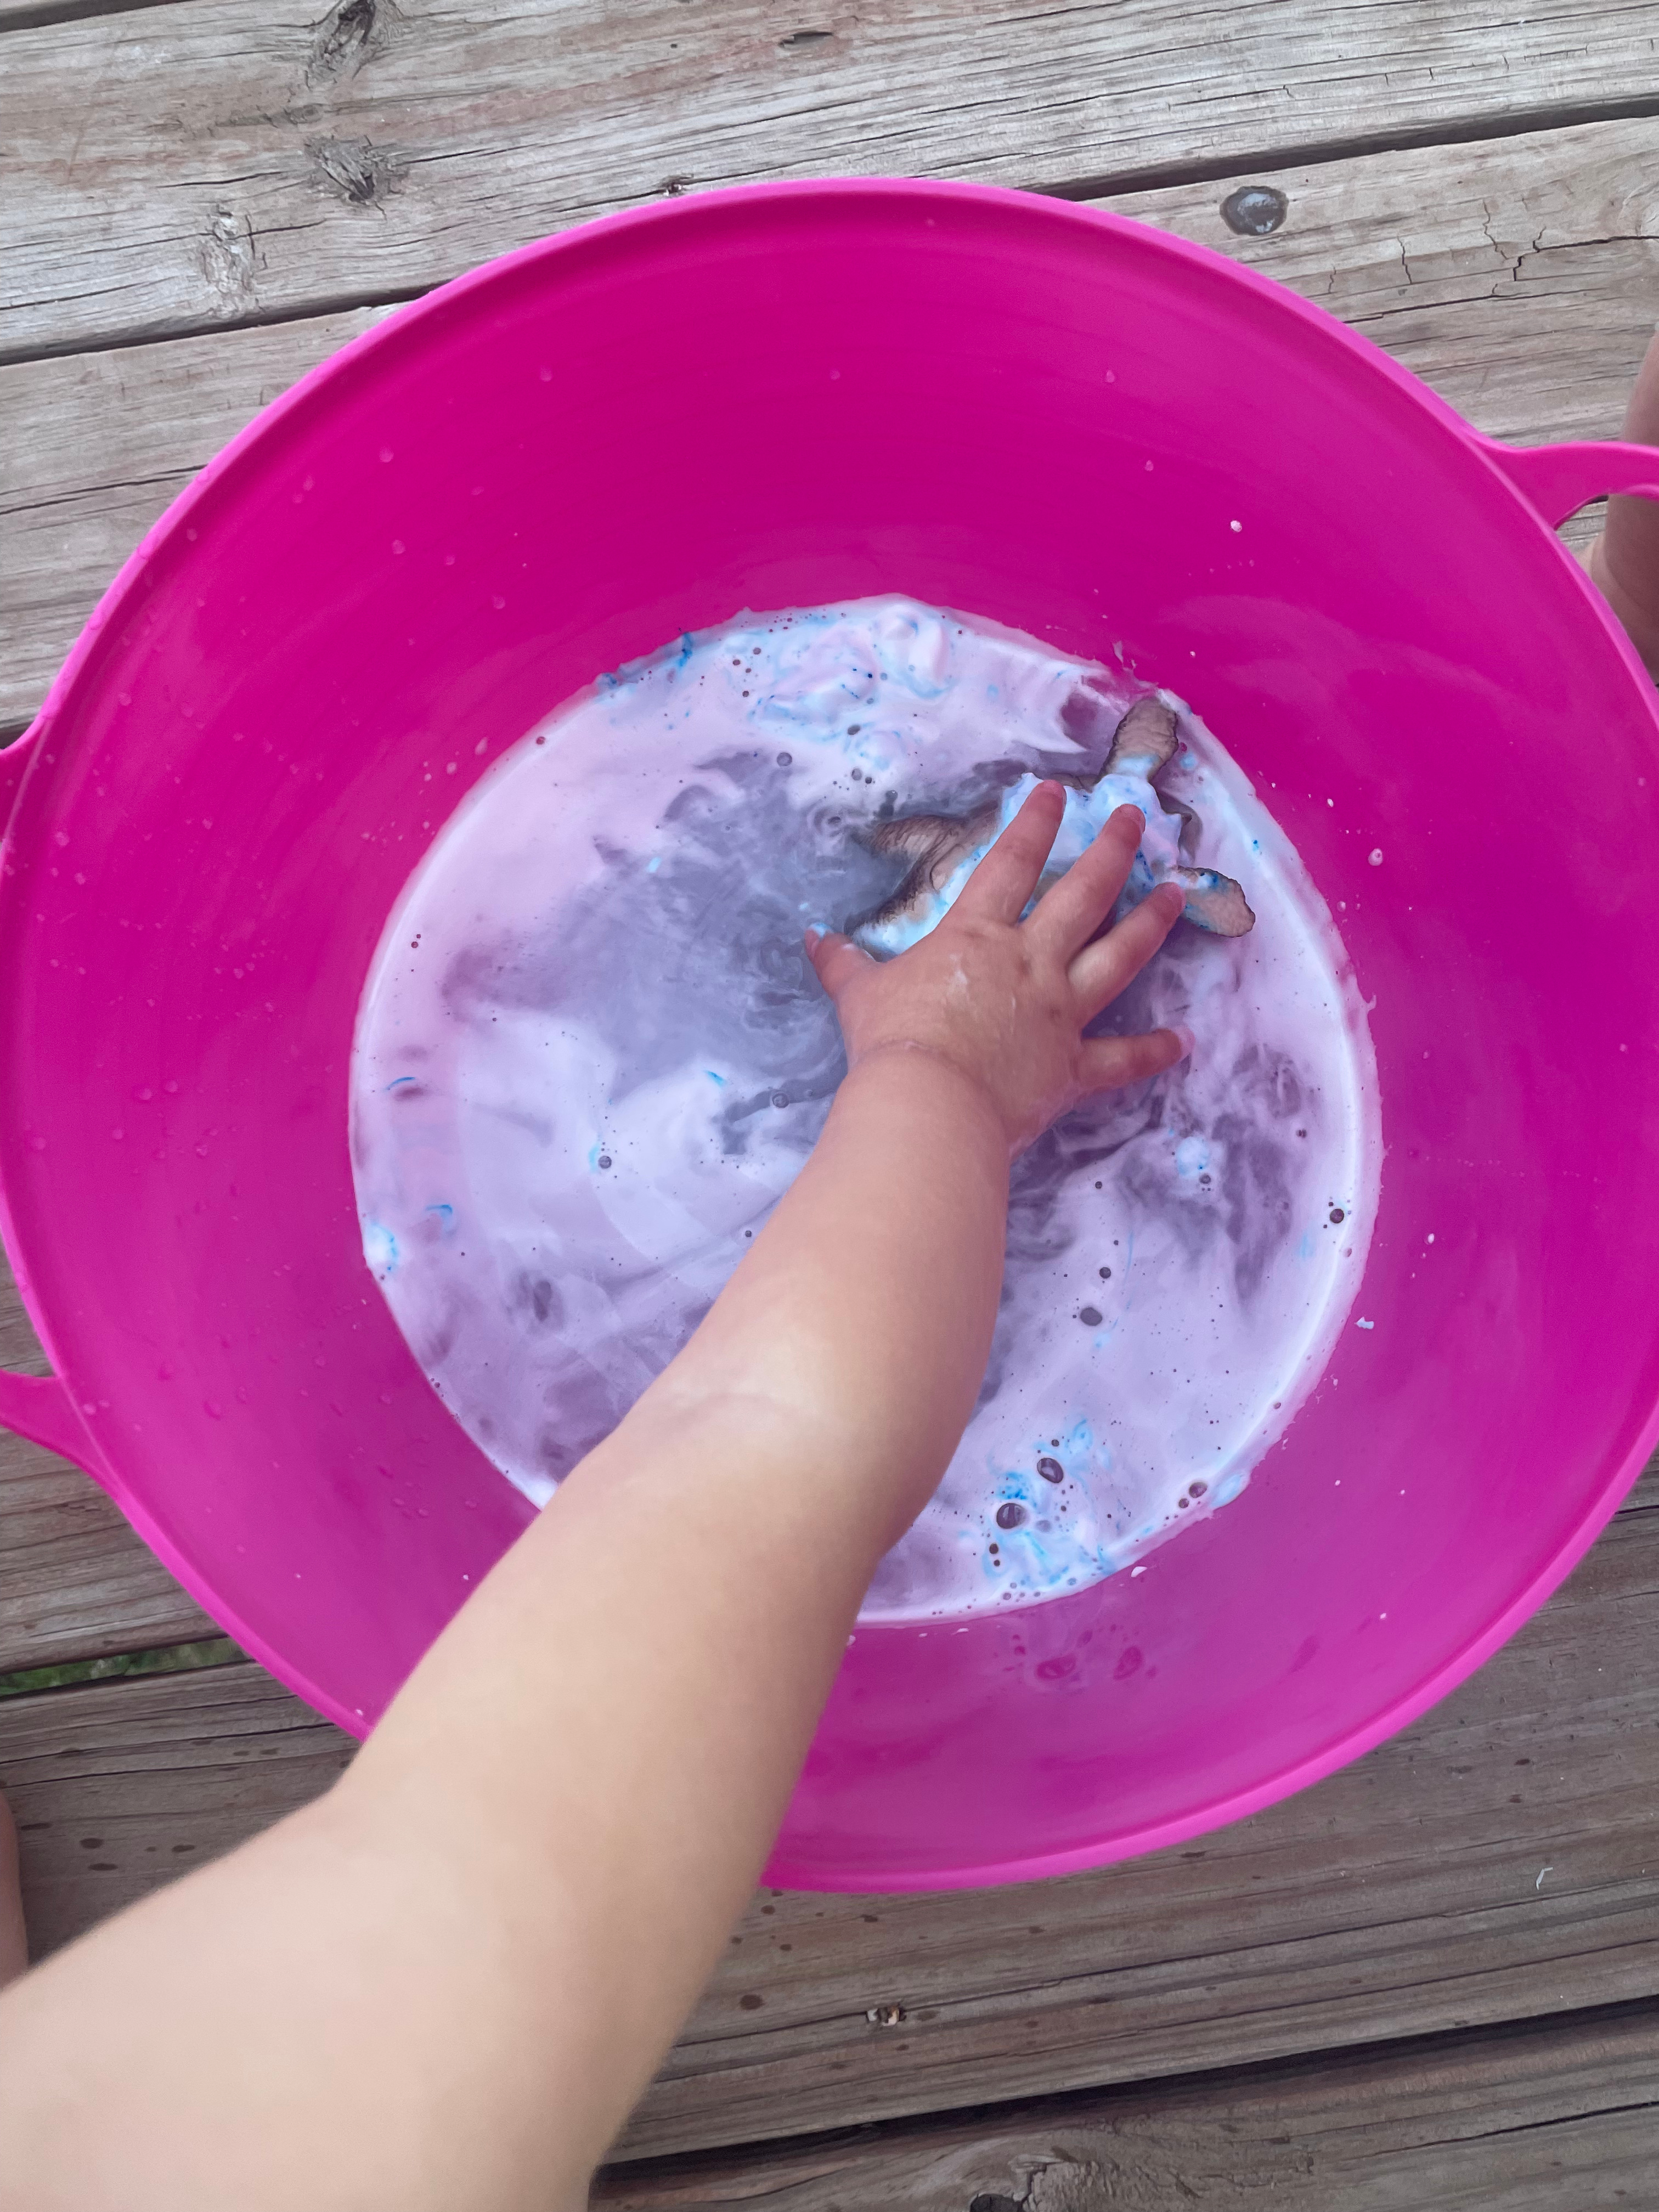
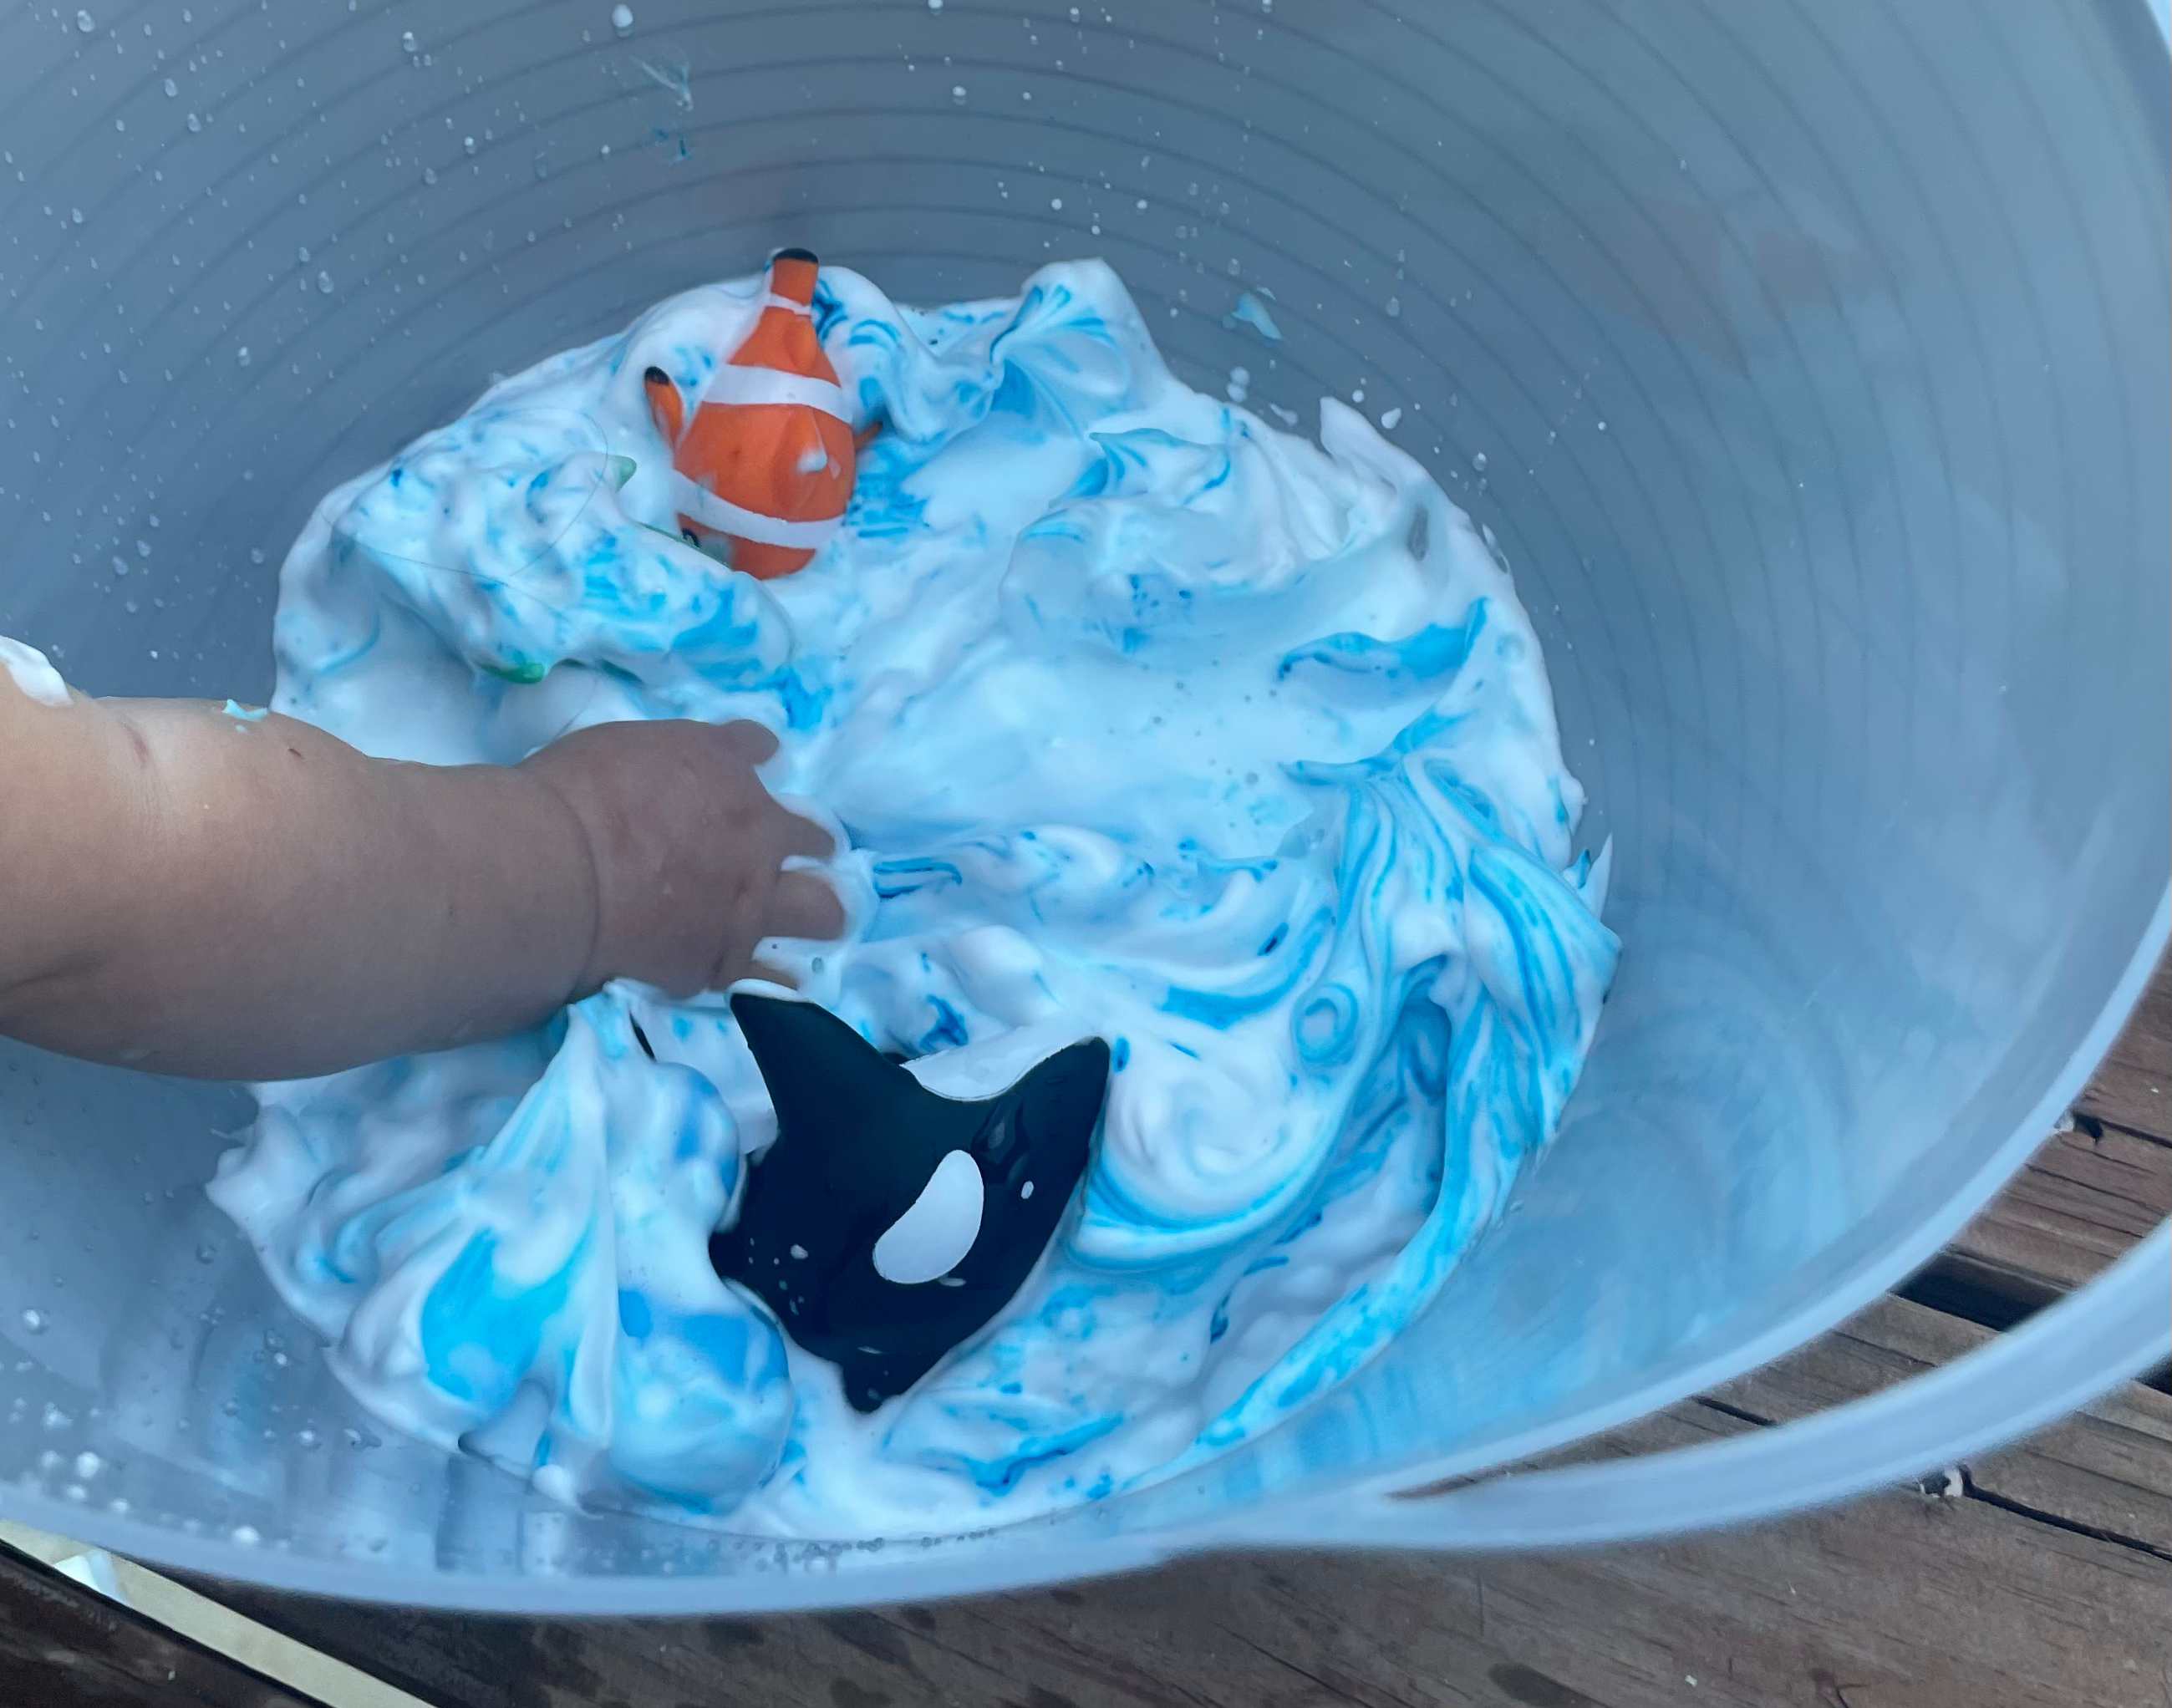
Wash the Sea Foam off the Animals
Unfortunately, this is not a taste safe activity like the other two, but it still is a super fun one. Here is a little list for everything you need:
- Two buckets
- Shaving cream
- Blue dye
- Spoon
- Sea creatures (or any figurine you have, maybe they got lost at sea)
- Sponges
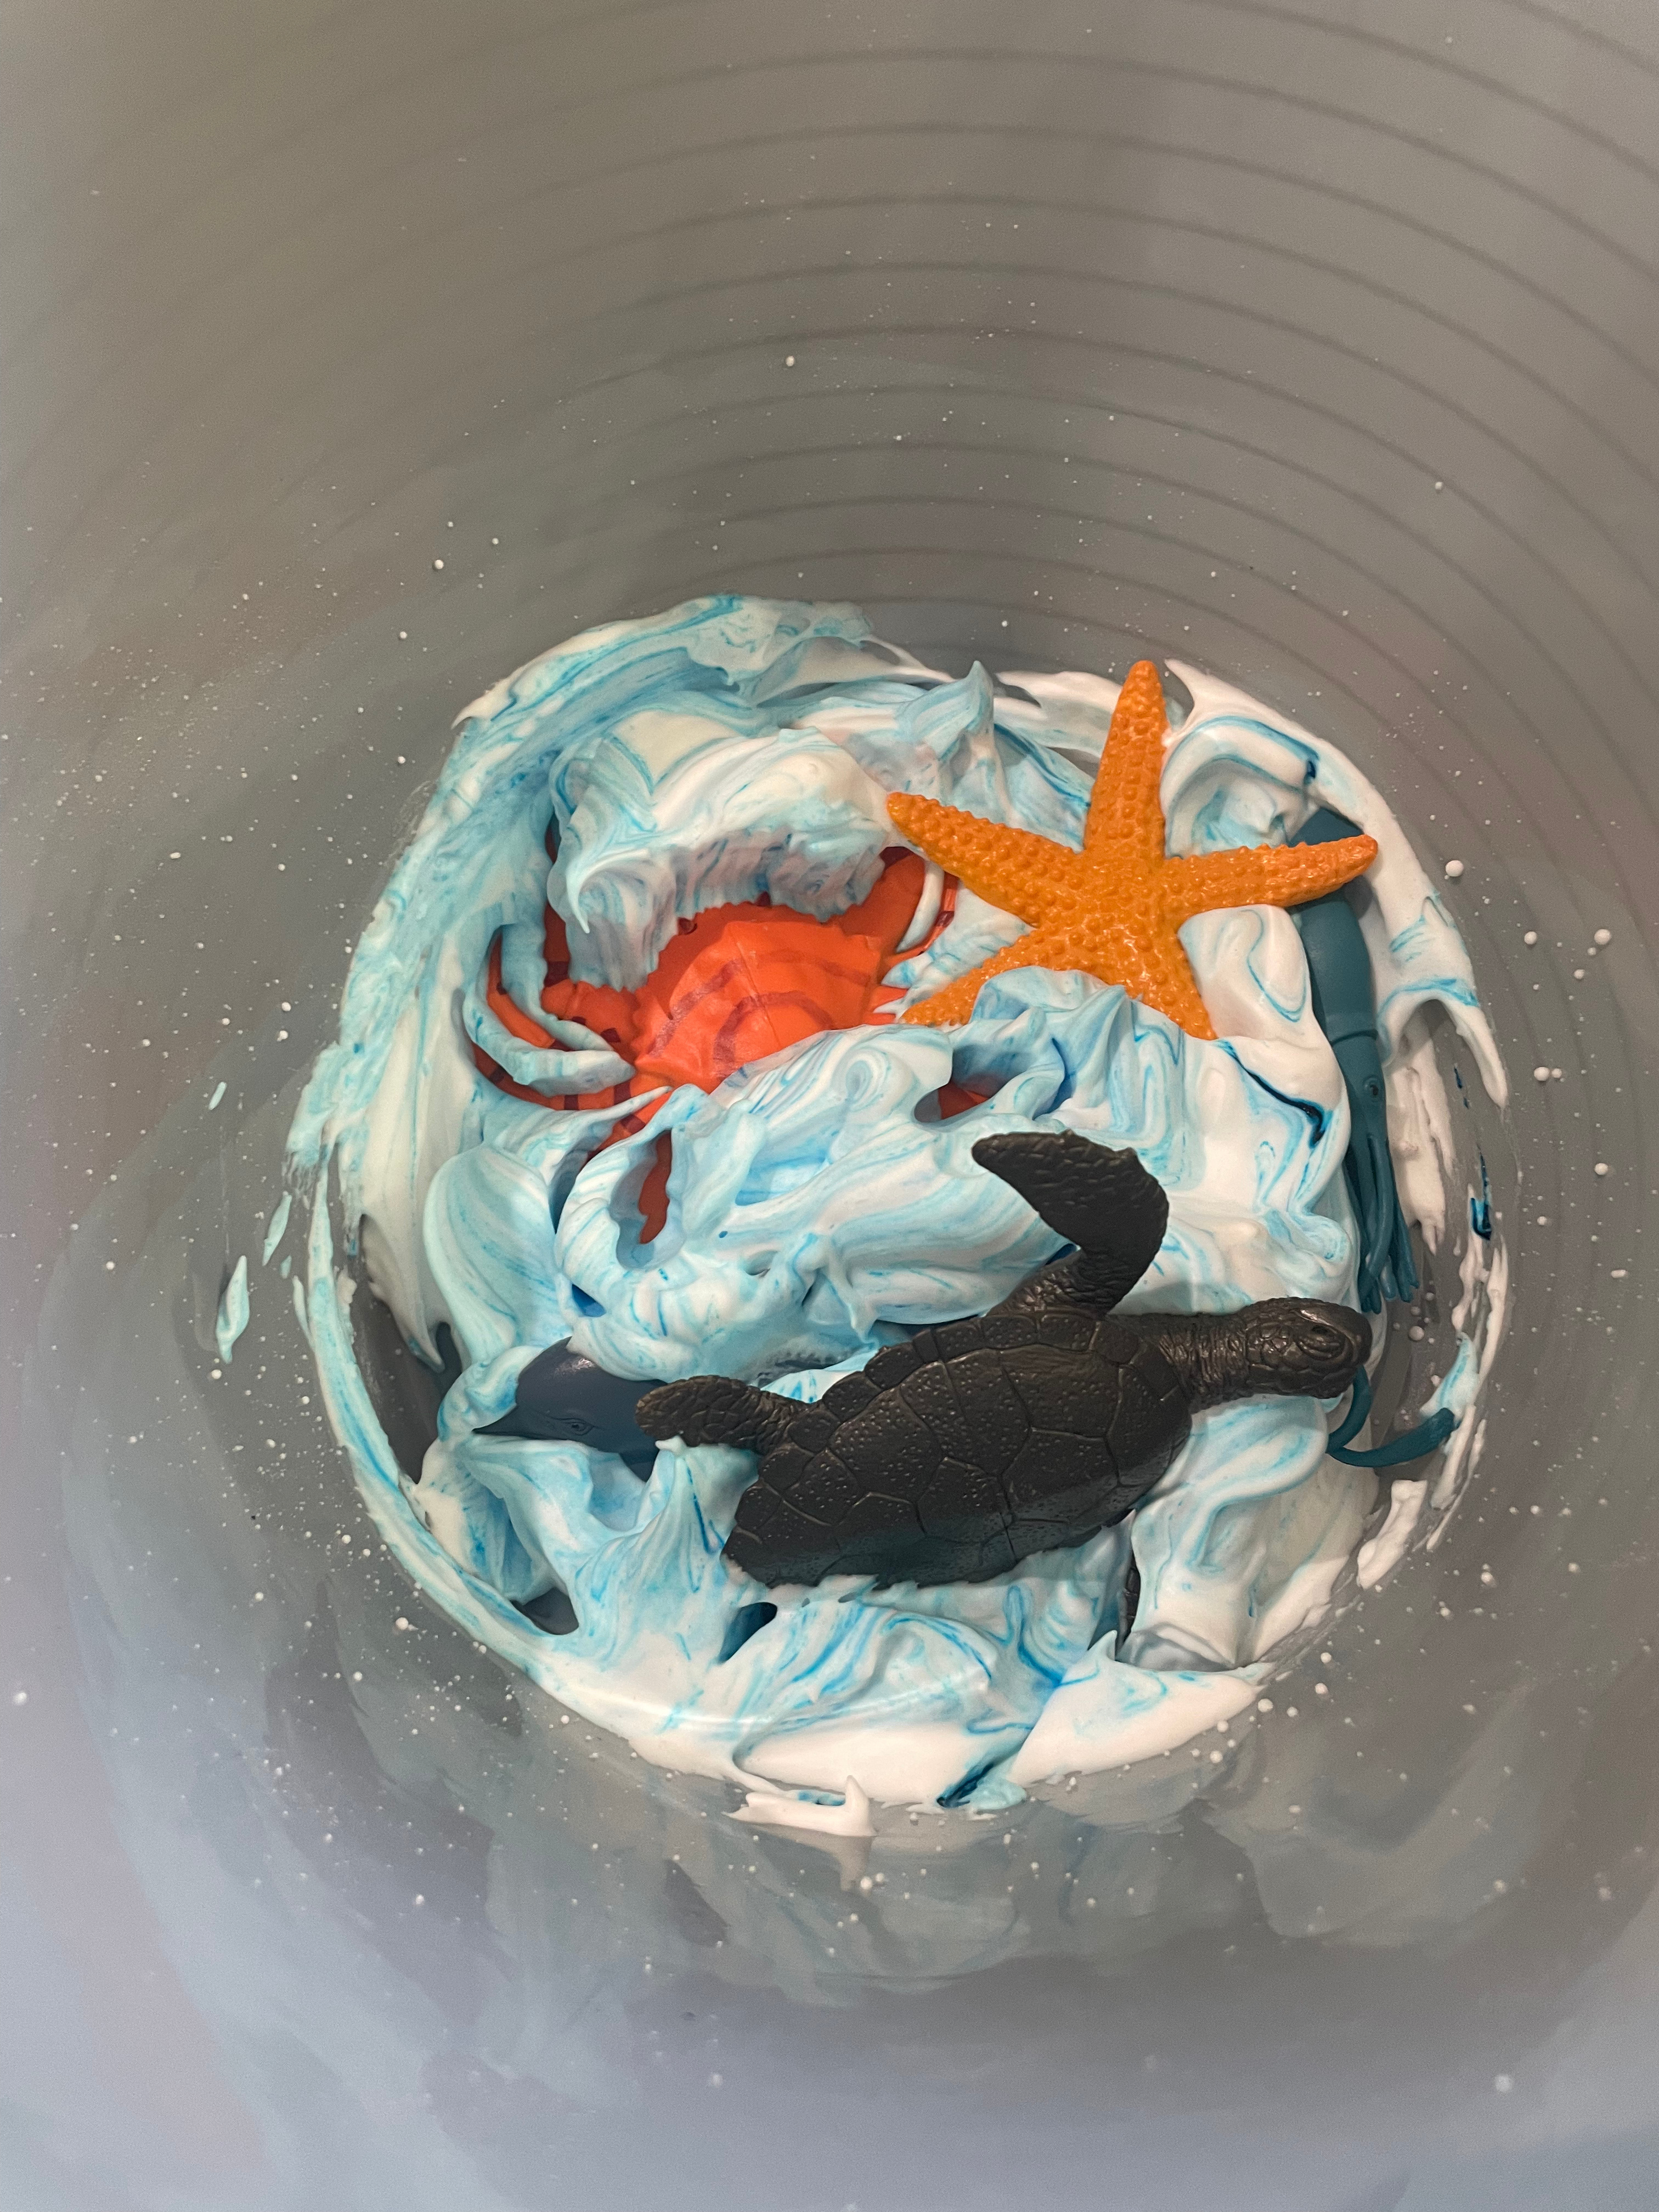
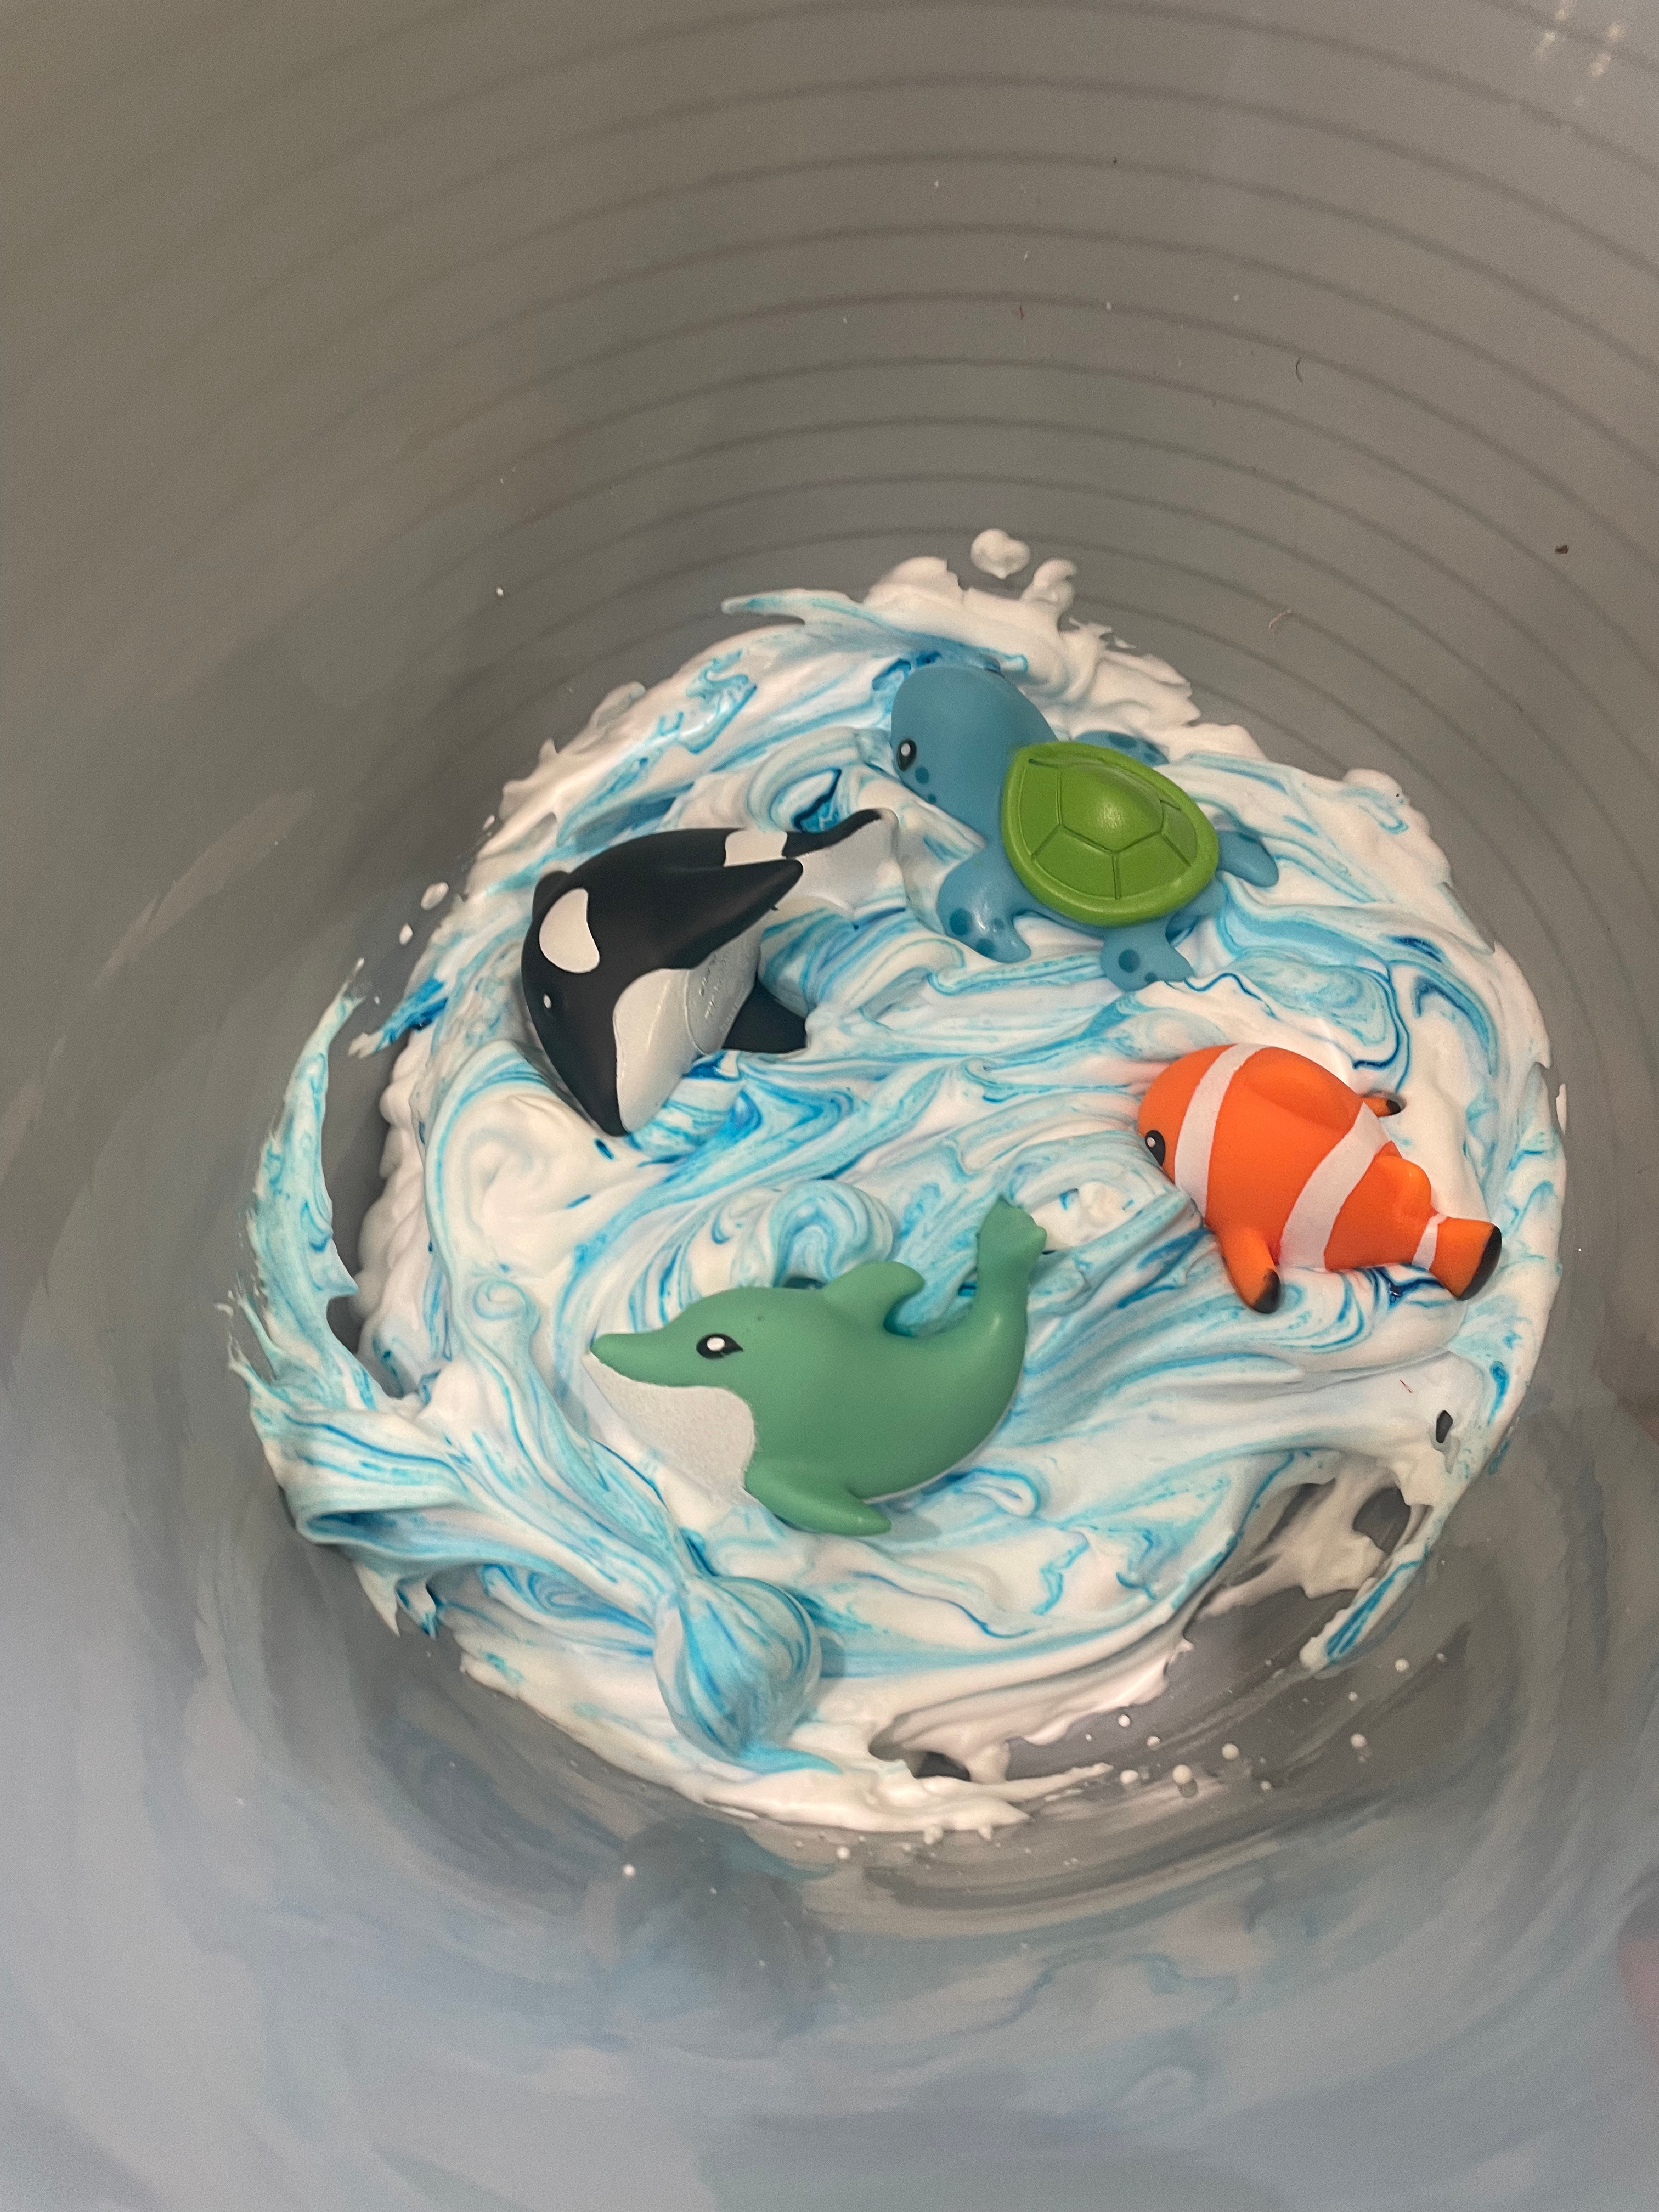
- Put however much shaving cream you want to clean up in a bucket
- Mix some blue dye in the shaving cream
- Put the figurines in the shaving cream (make sure they’re ‘dirty’ enough)
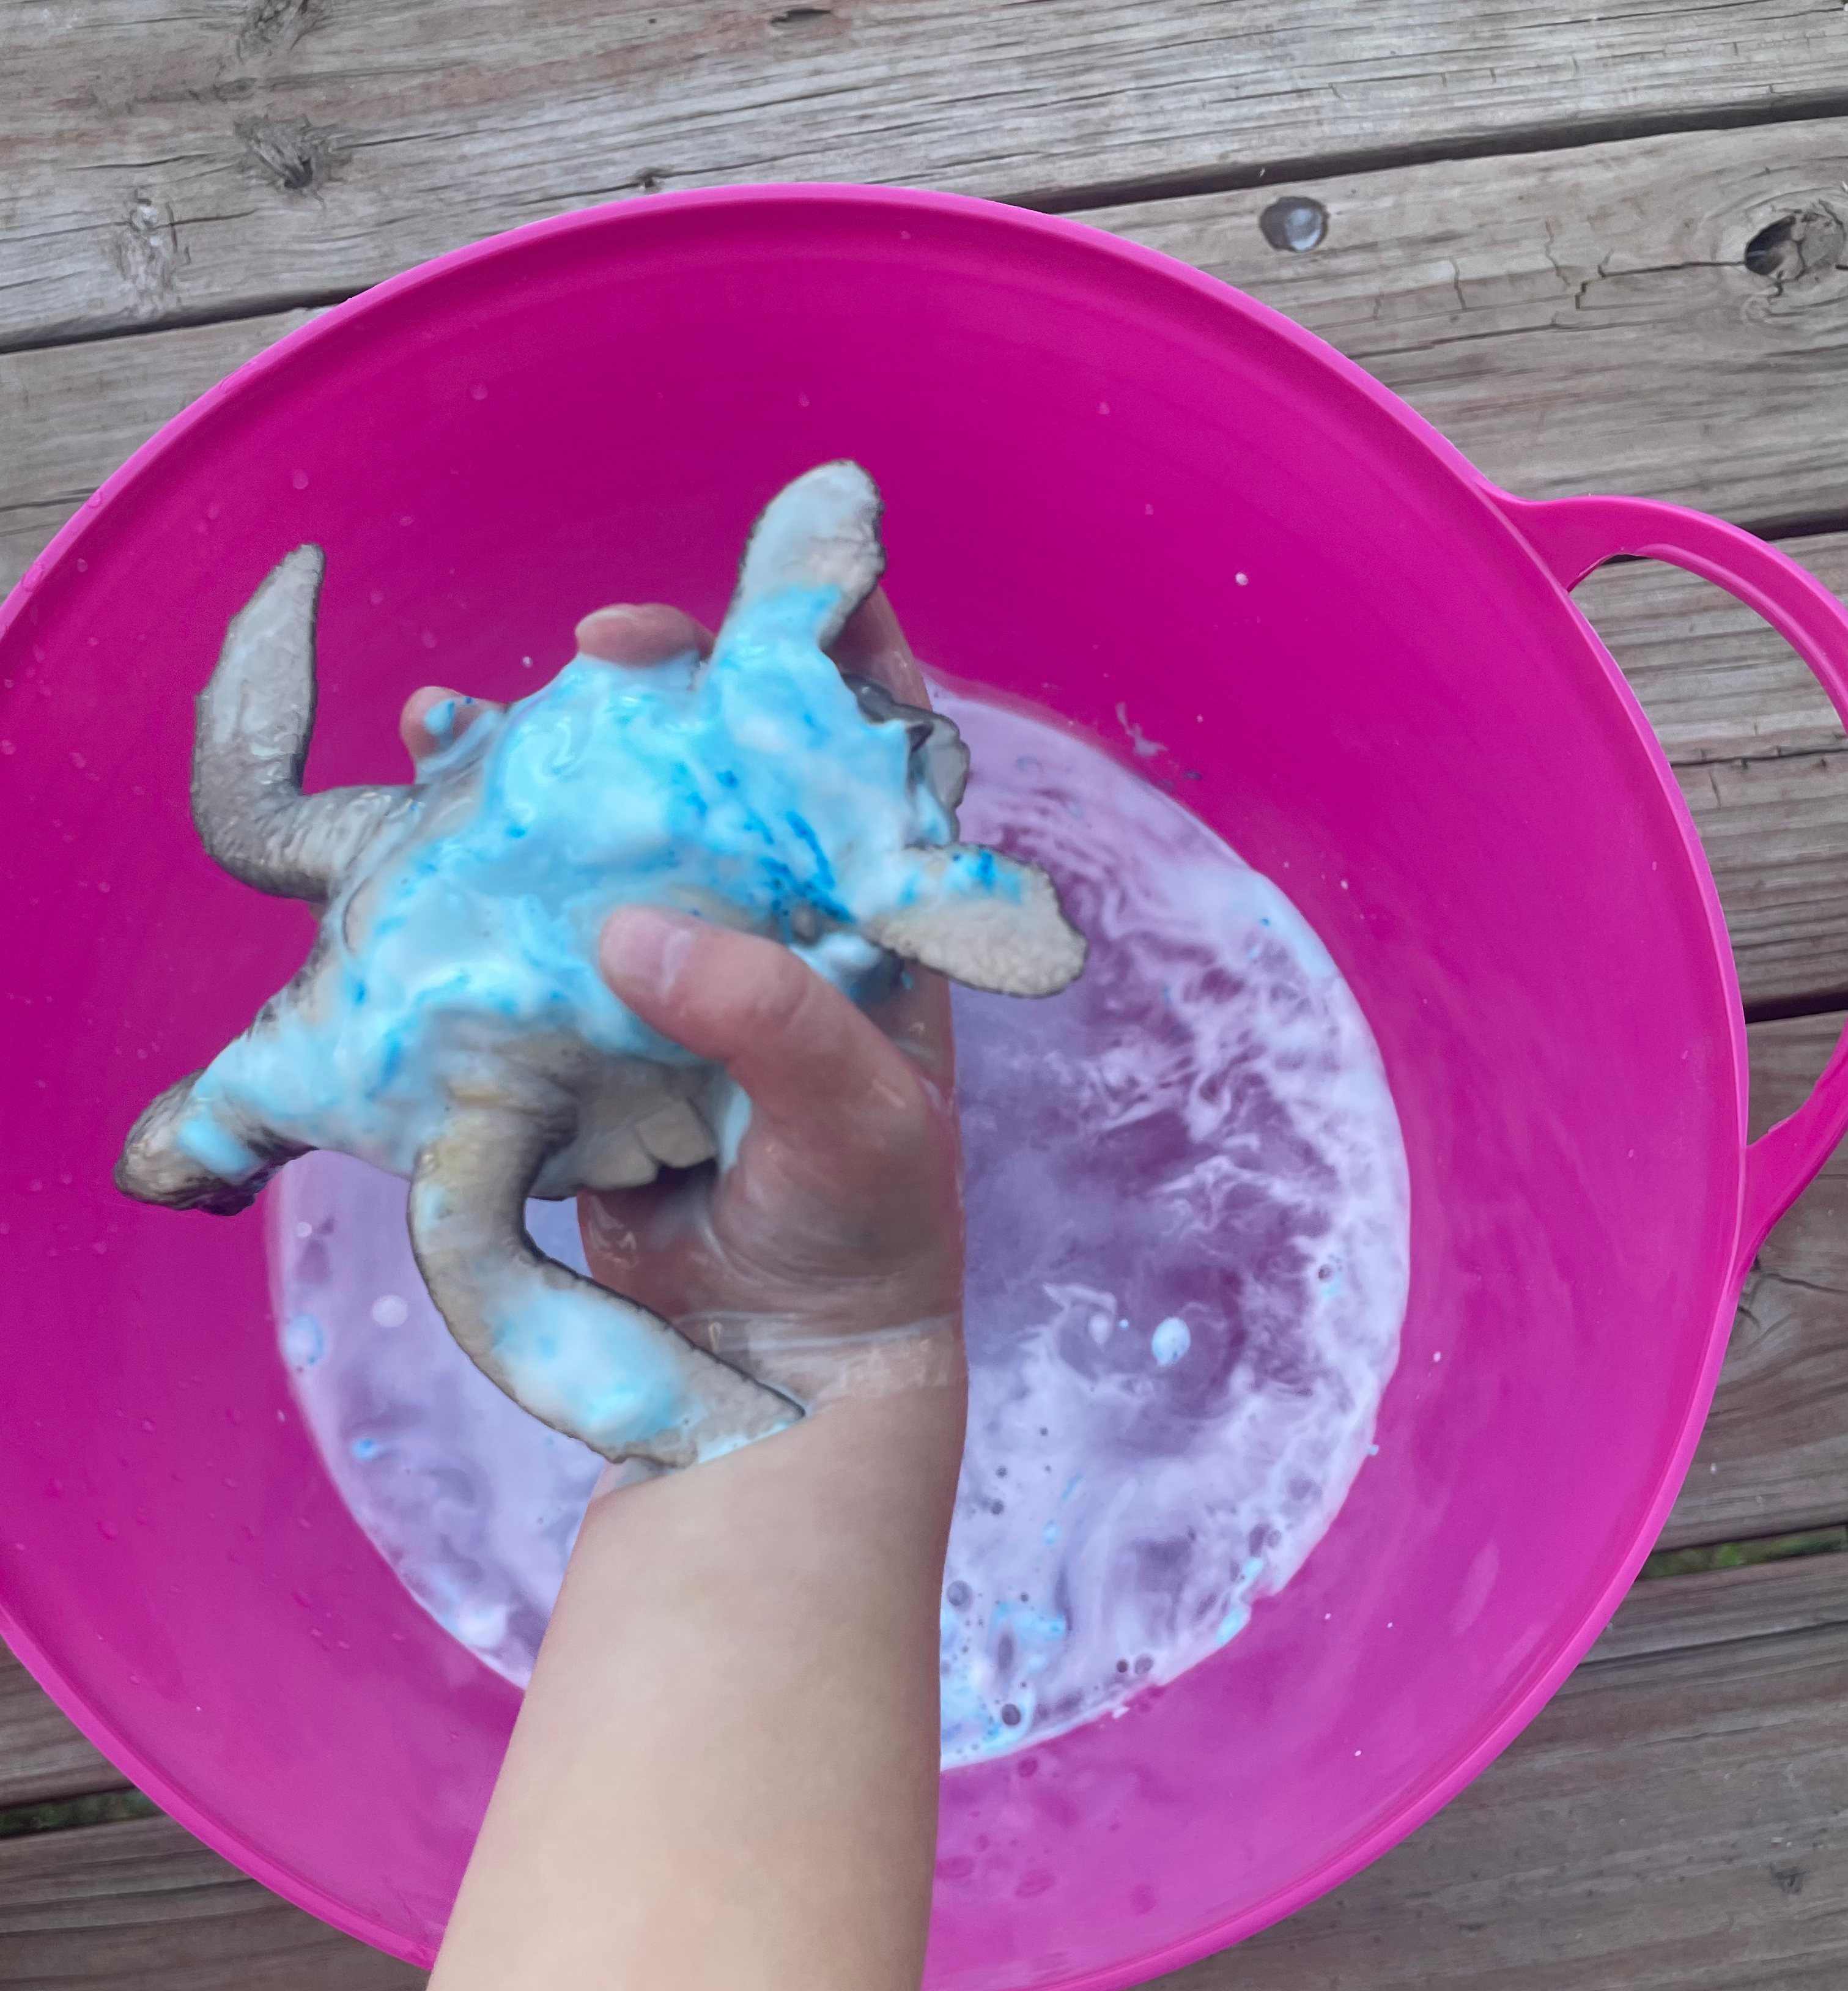
- Fill up the other bucket with water so the figurines can be cleaned. If the kids want, they can use sponges or maybe a washcloth to clean them.
Since my children are very territorial, had three buckets, one filled with foam for the both of them and then one bucket of water. This could also be a perfect moment to give a grace and courtesy lesson as well and you can still use one bucket between kids. You can talk about waiting turns while cleaning toys or sharing as a community. Of course, keep a watchful eye just to make sure everyone stays safe!
Here are of photos of how we did it:
Key French Words and Phrases to Use
For my non-native or heritage learner French speaking parents out there, I wanted to give you a few words and phrases that you can use with your child while doing these activities. I hope you find them helpful!
Les animaux de la mer
- La tortue de mer – sea turtle
- La pieuvre -octopus
- La baleine – whale
- Le requin – shark
- L’étoile de mer – starfish
- Le hippocampe – seahorse
- Le dauphin – dolphin
- Le poisson – fish
- Le crabe – crab
Au bord de la mer
- Le sable – sand
- Le coquillage – seashell
- Le parasol – umbrella
- Le château de sable – sand castle
- Les algues – seaweed
- Les vagues – waves
- La mer – sea
- L’écume – foam (sea foam)
Phrases
- “Le sable est granuleux.” – “The sand is grainy.”
- “La mer est bleue.” – “The sea is blue.”
- “Qu’est-ce qu’il y a dans l’eau ?” – “What’s in the water?”
- “Qui est allongé sur la plage ?” – “Who’s laying on the beach?”
- “Le parasol protège du soleil.” – “The umbrella protects from the sun.”
- “Le requin est mousseux ! Tu veux le laver ?” – “The shark is foamy! Do you want to wash it?”
- “Où est le crabe ?” – “Where’s the crab?”
- “Le voilà !” – “There it is!”

Leave a comment